

Manage Uploaded Assets
While your assets are uploading, the ‘Manage’ modal will appear where you have the option of tagging the assets with metadata, updating the assets’ thumbnail, creating a share, checking the upload status, or viewing the uploaded assets.
Getting Started: Navigate to this article to learn how to upload assets to Runner. Once your assets are uploading, the ‘Manage’ modal will appear.

Add Metadata
Step 1: Click ‘Add Metadata’ to navigate to the ‘Metadata Template’ page where you can select a metadata template.
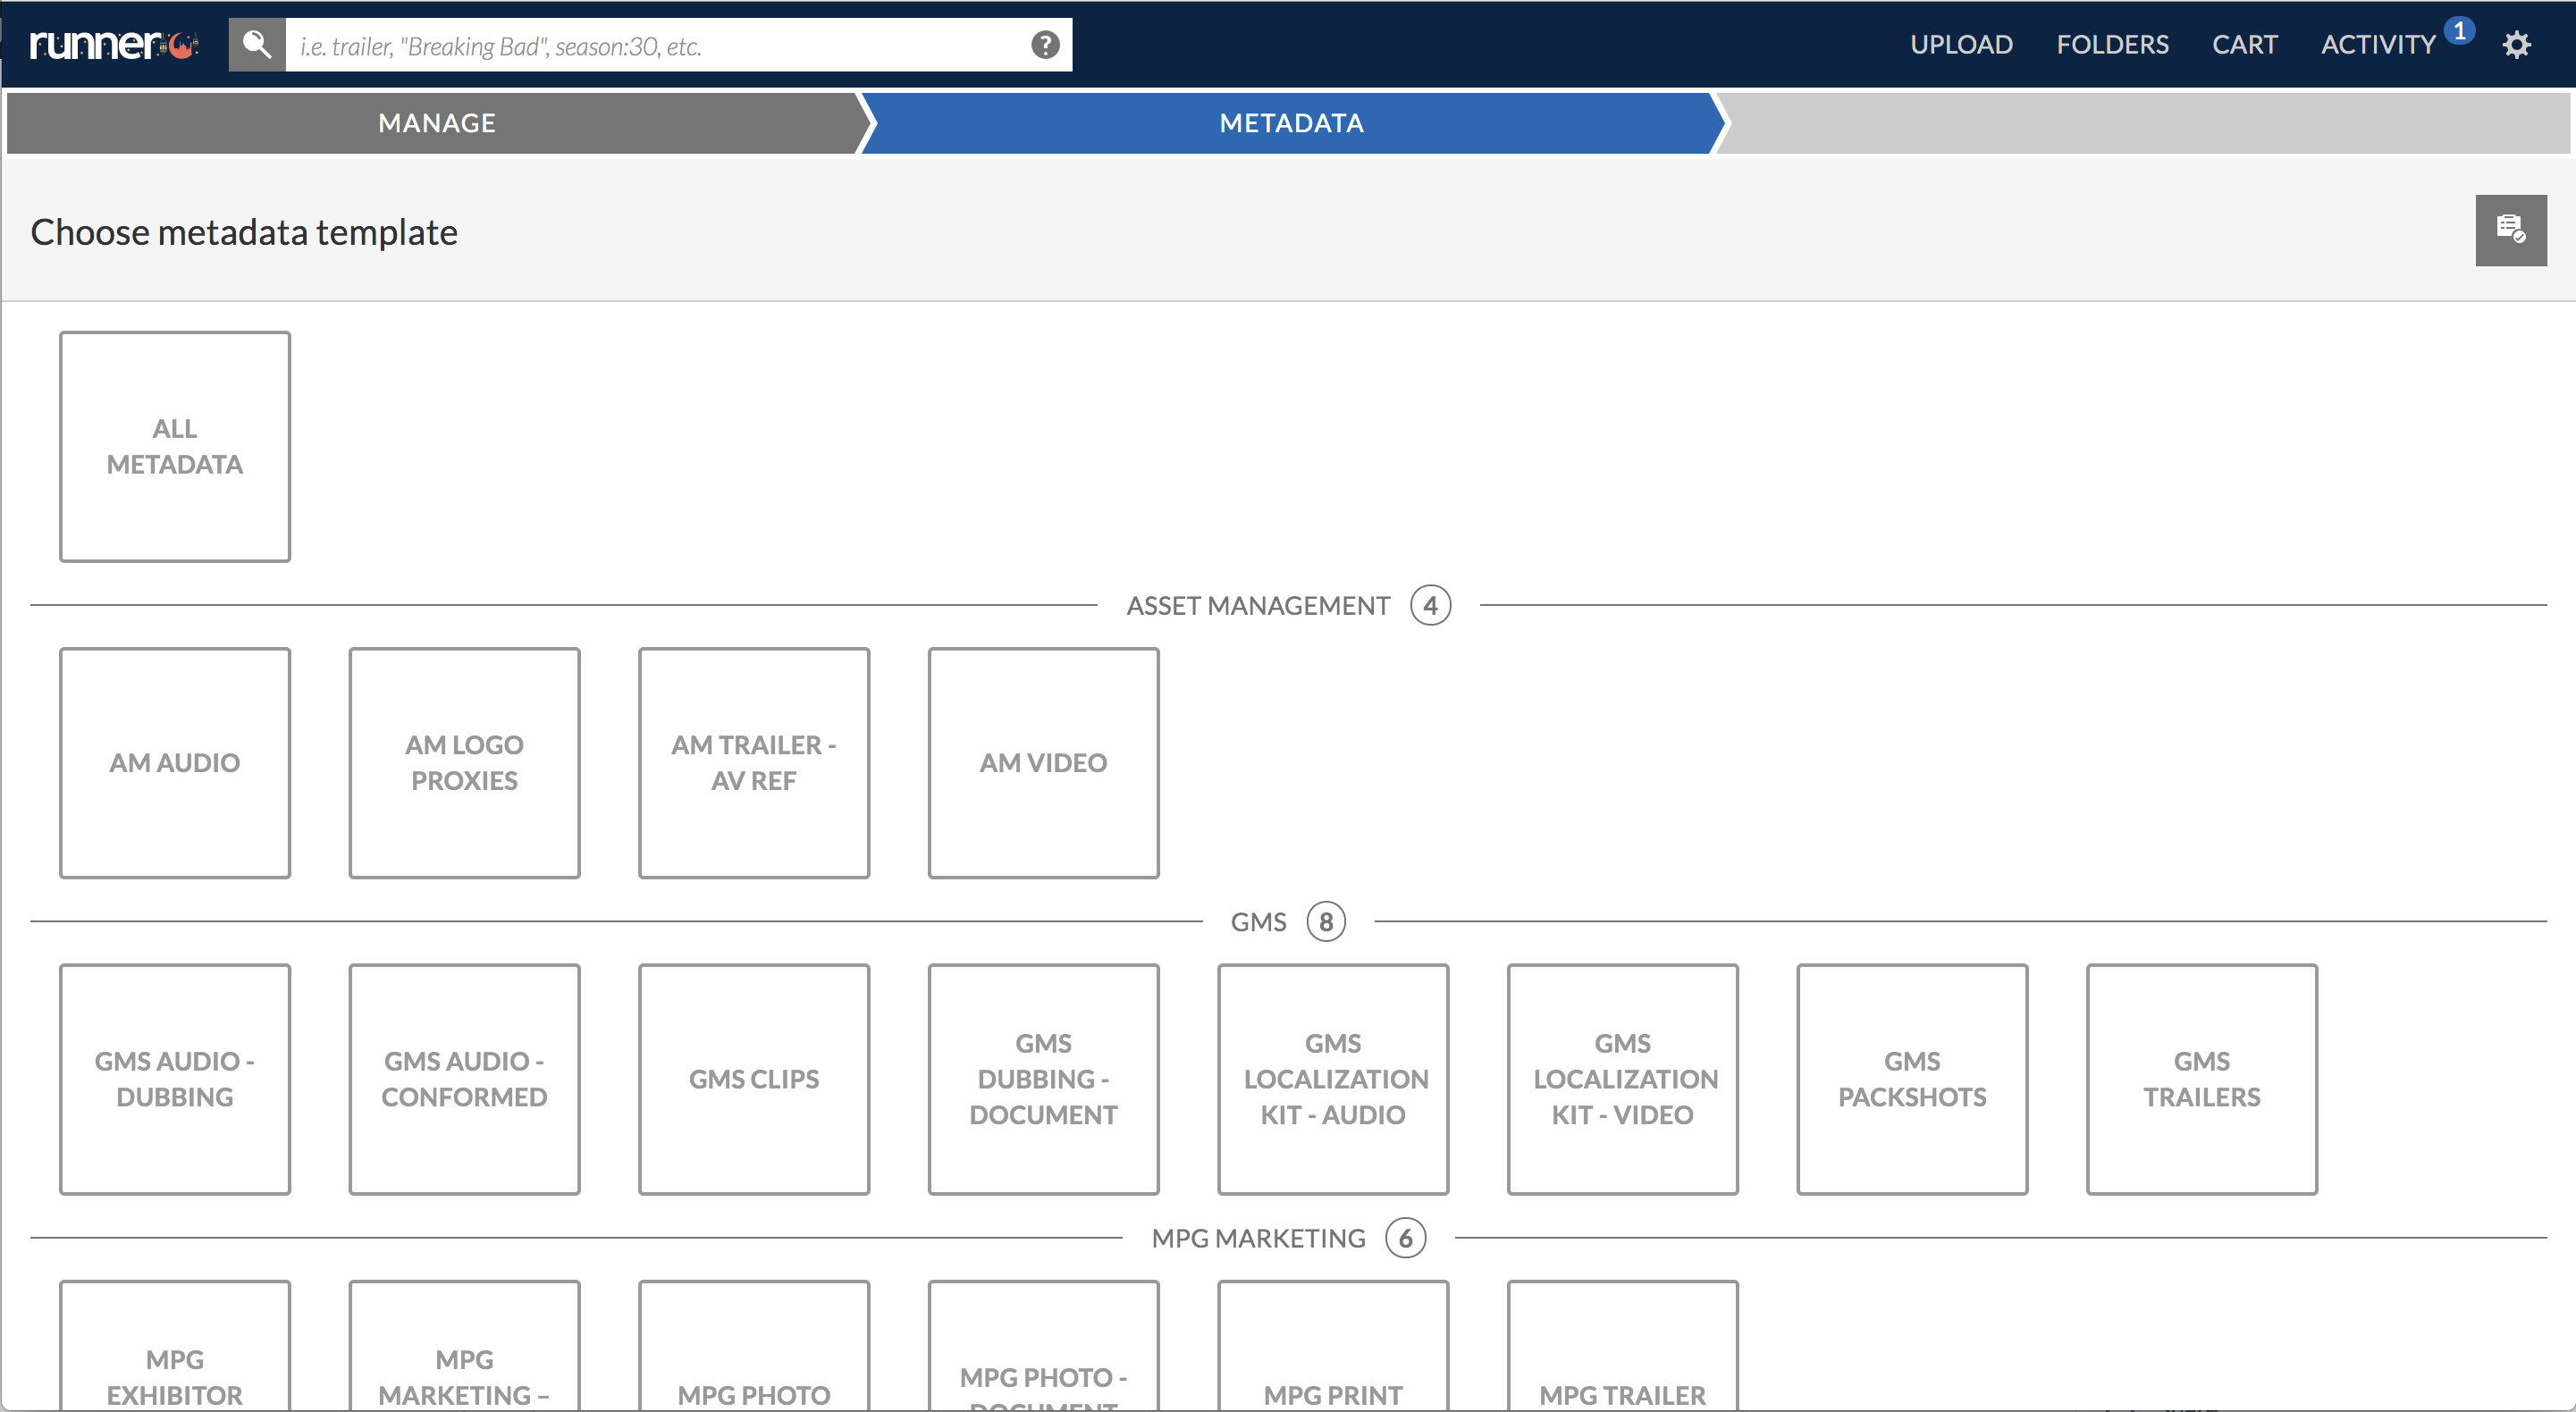
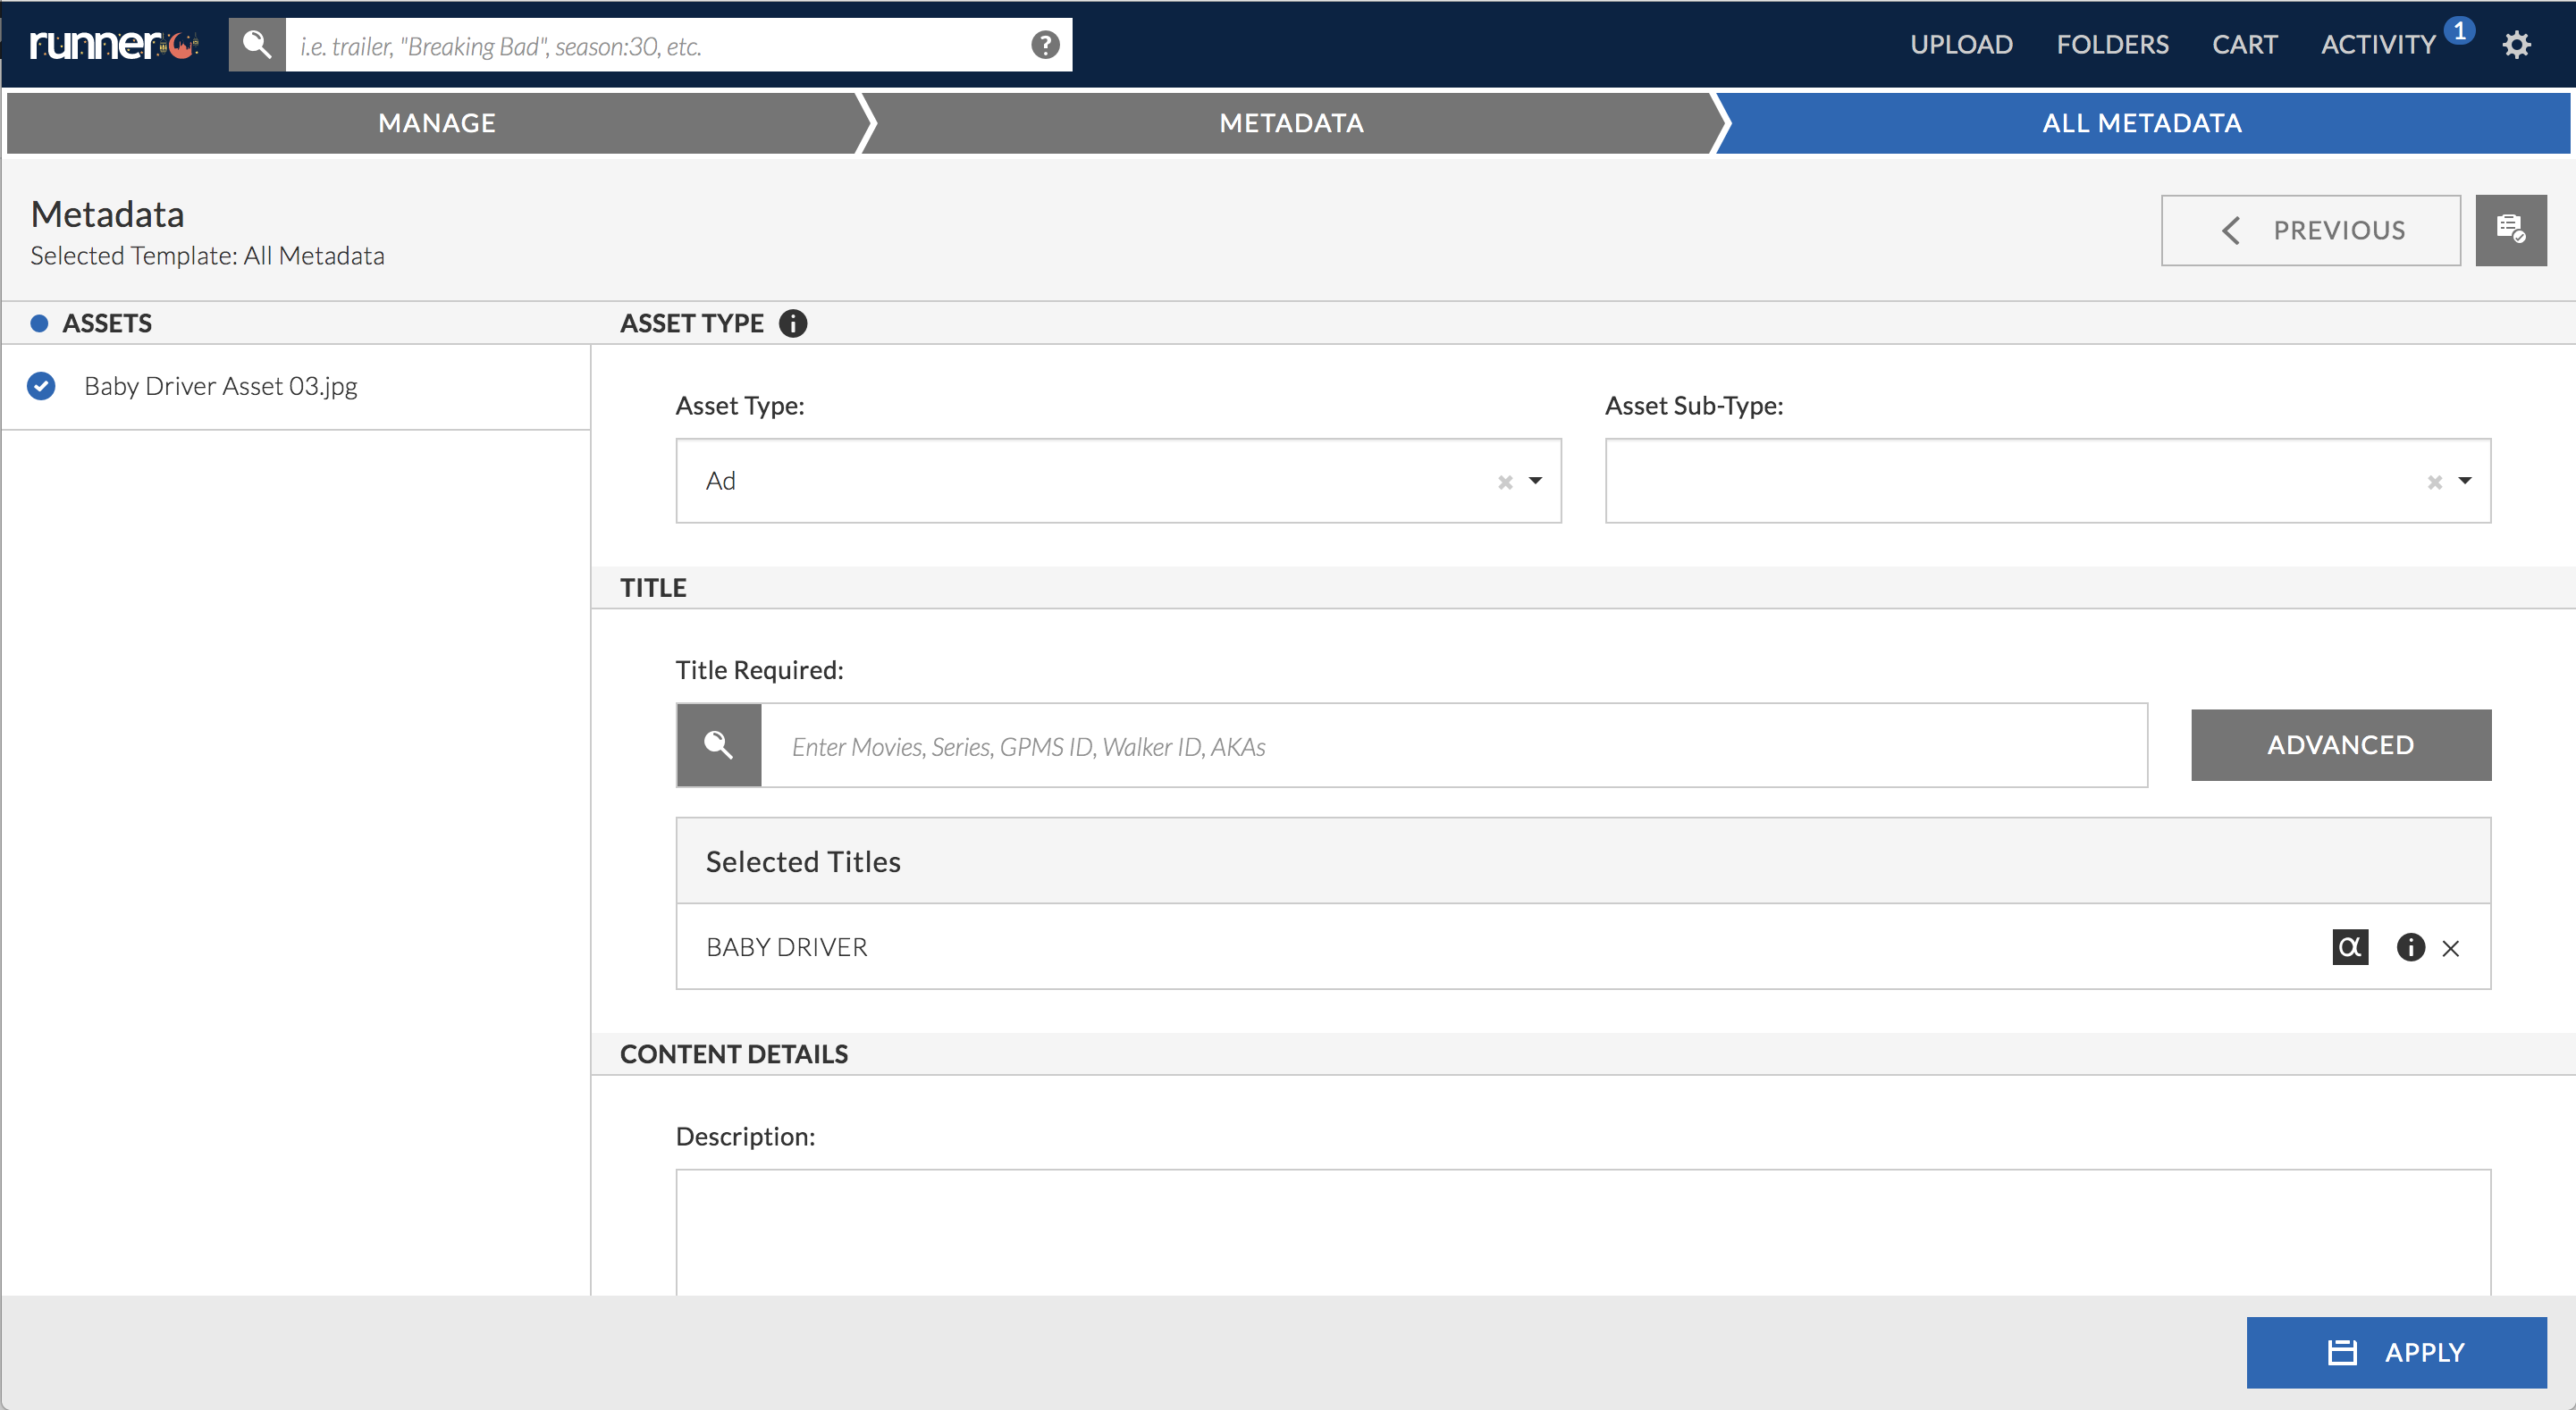
Step 2: Enter metadata to your selected metadata template and click ‘Apply’.
Update Thumbnail
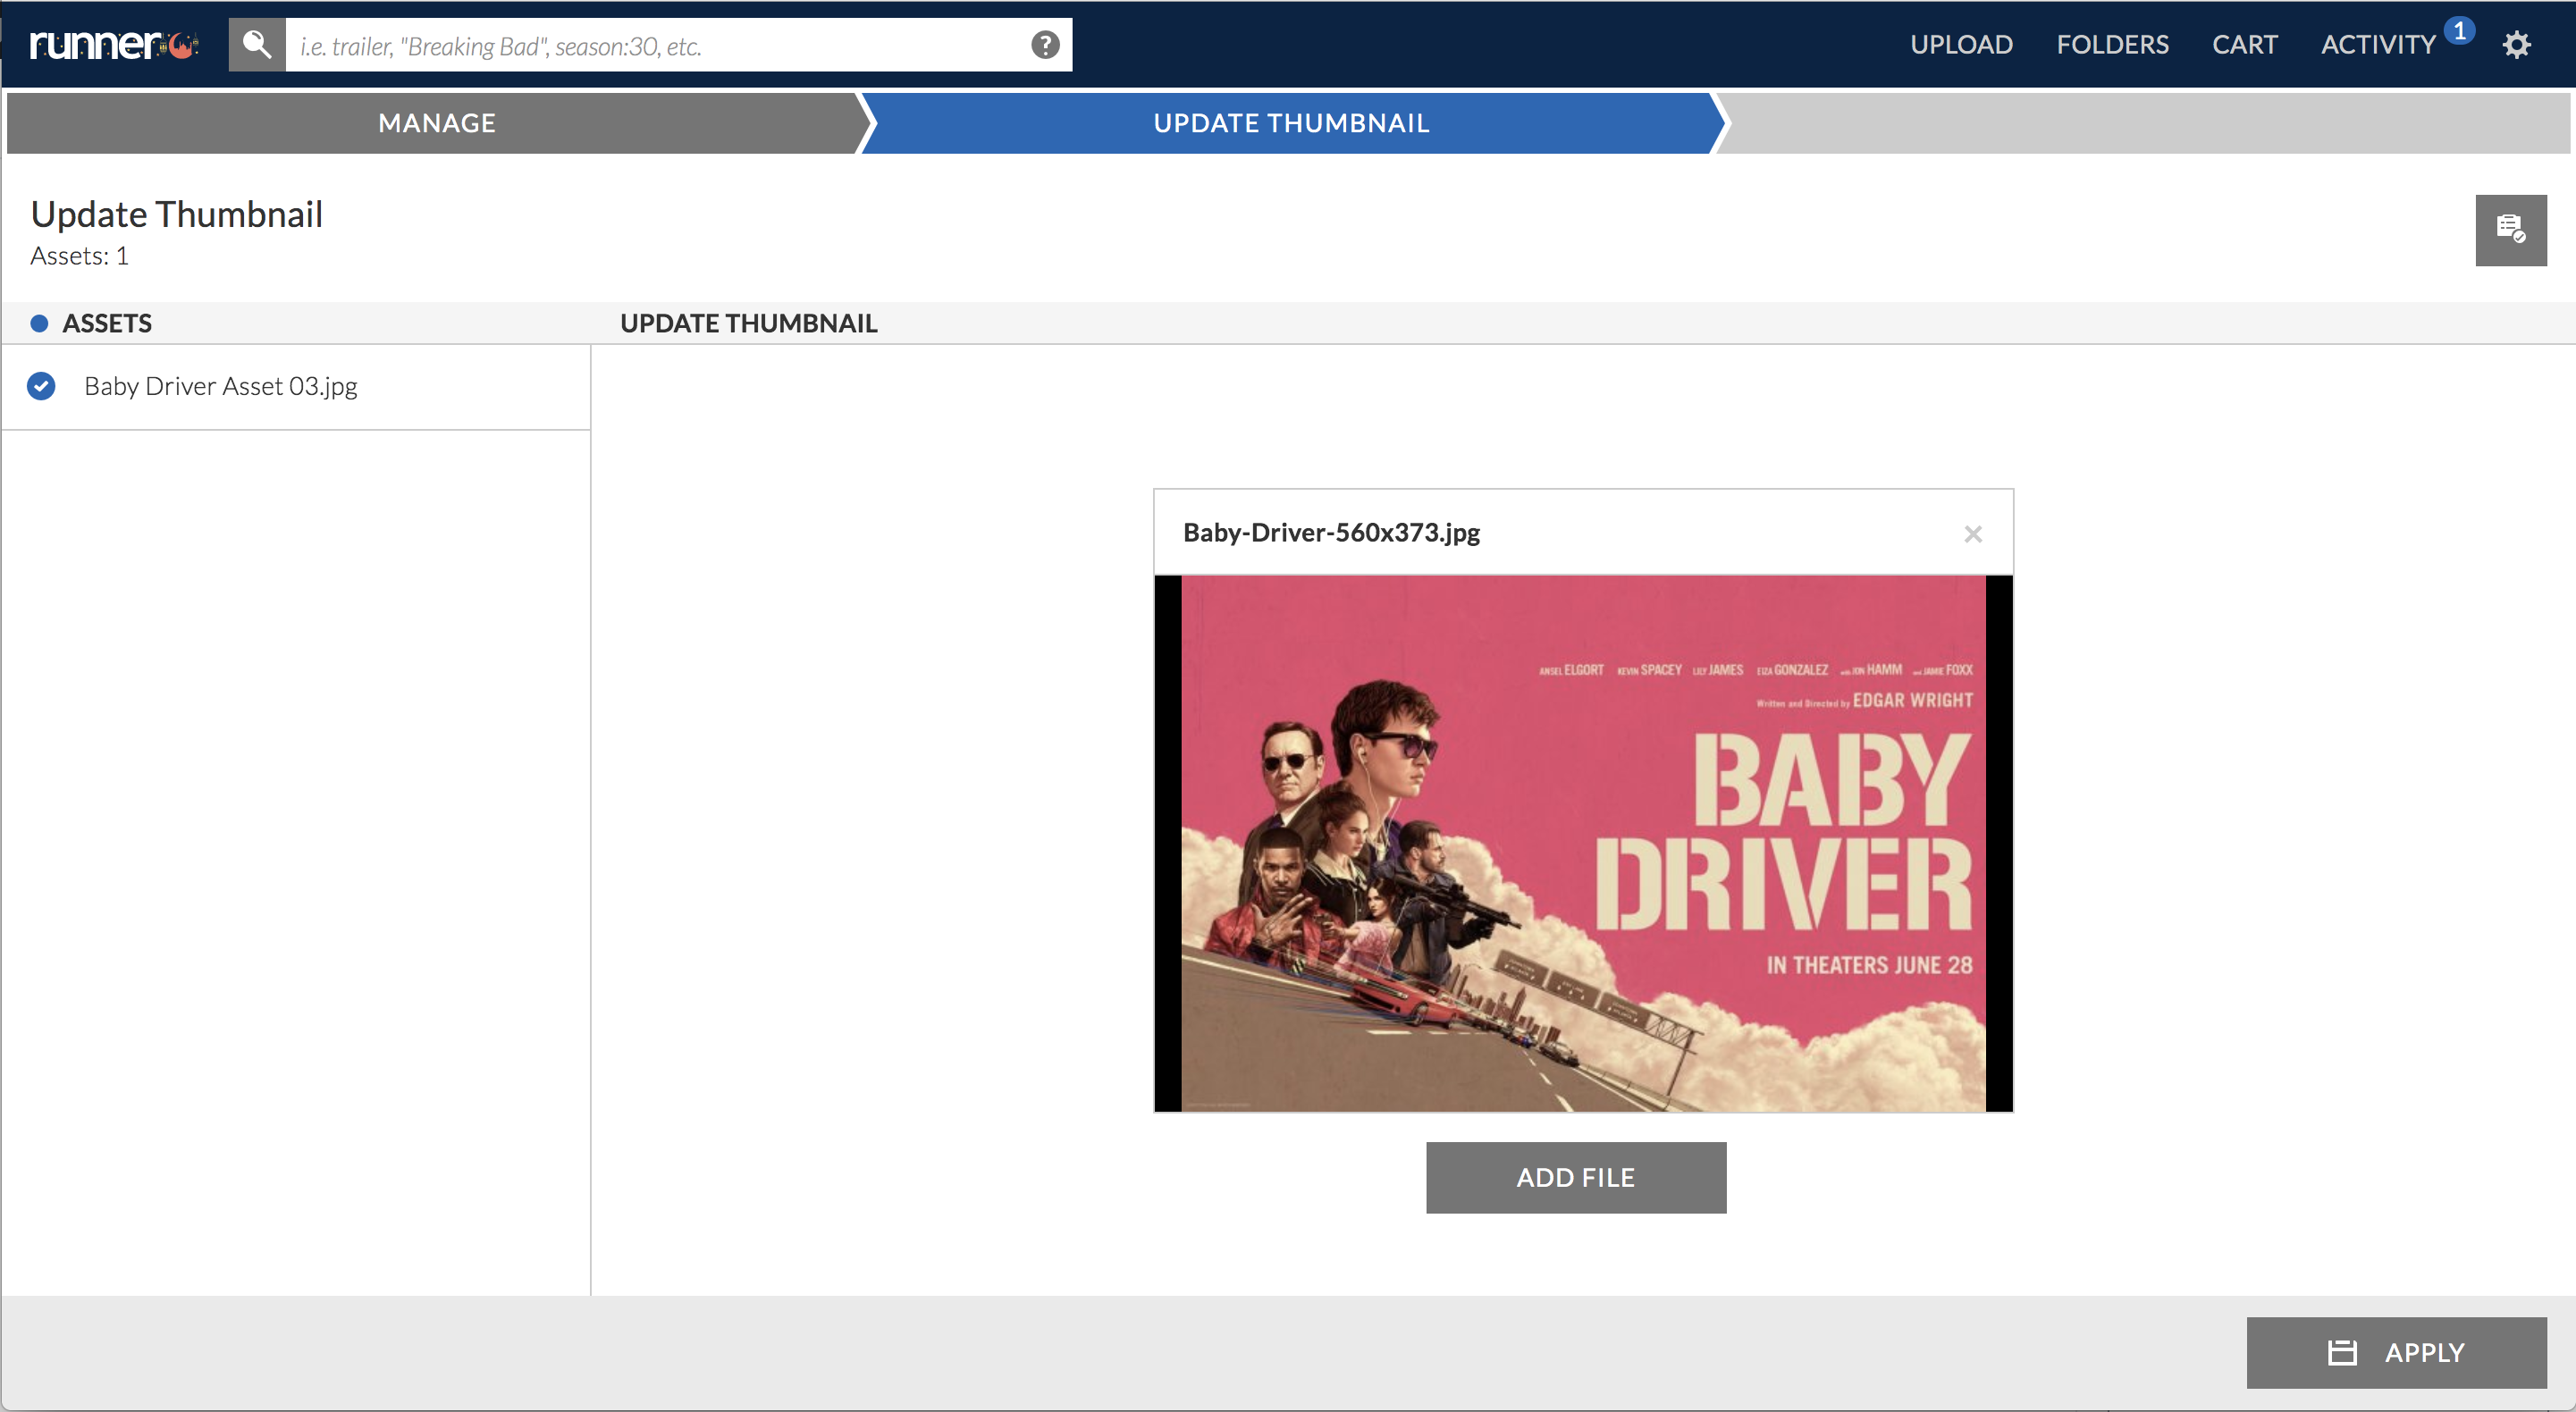
Step 1: Click ‘Update Thumbnail’ to upload a new thumbnail for all of your uploaded assets.

Step 2: Drag and drop your file into the space named ‘Drag File Here’ or click ‘Add File’. When you’ve completed adding your file, click ‘Apply’.
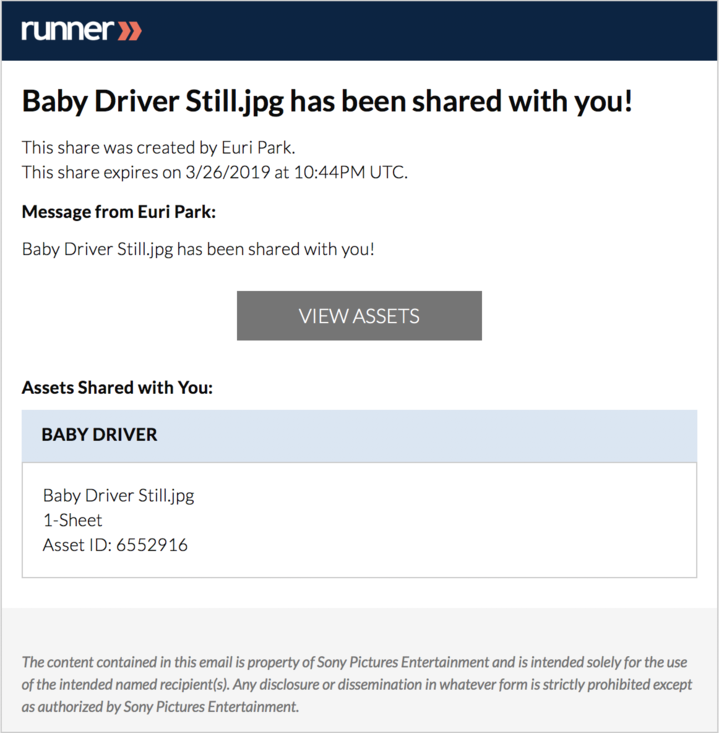
Email Share
Step 1: Click ‘Email Share’ to create a share with the uploaded assets. Select ‘Share URL’ to generate a share link or ‘Email Share’ to create a share that’ll be sent via email. Enter one or more recipients’ email addresses and modify the rest of the fields as needed.
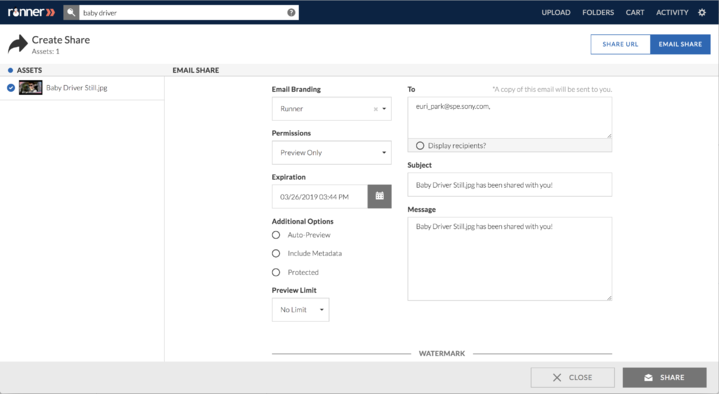
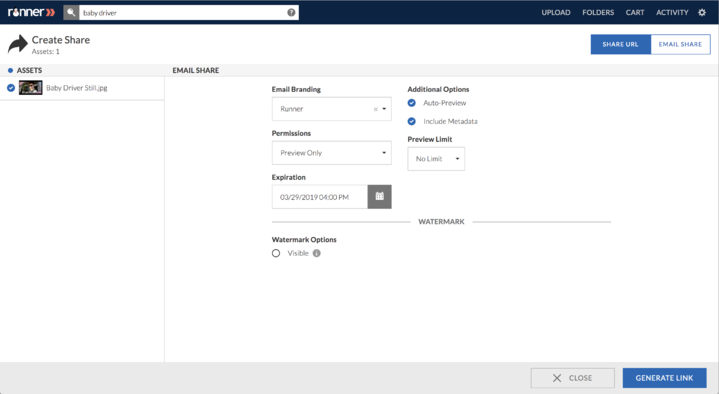
Step 2: An email will be sent to the specified recipients and a copy will automatically be sent to you.
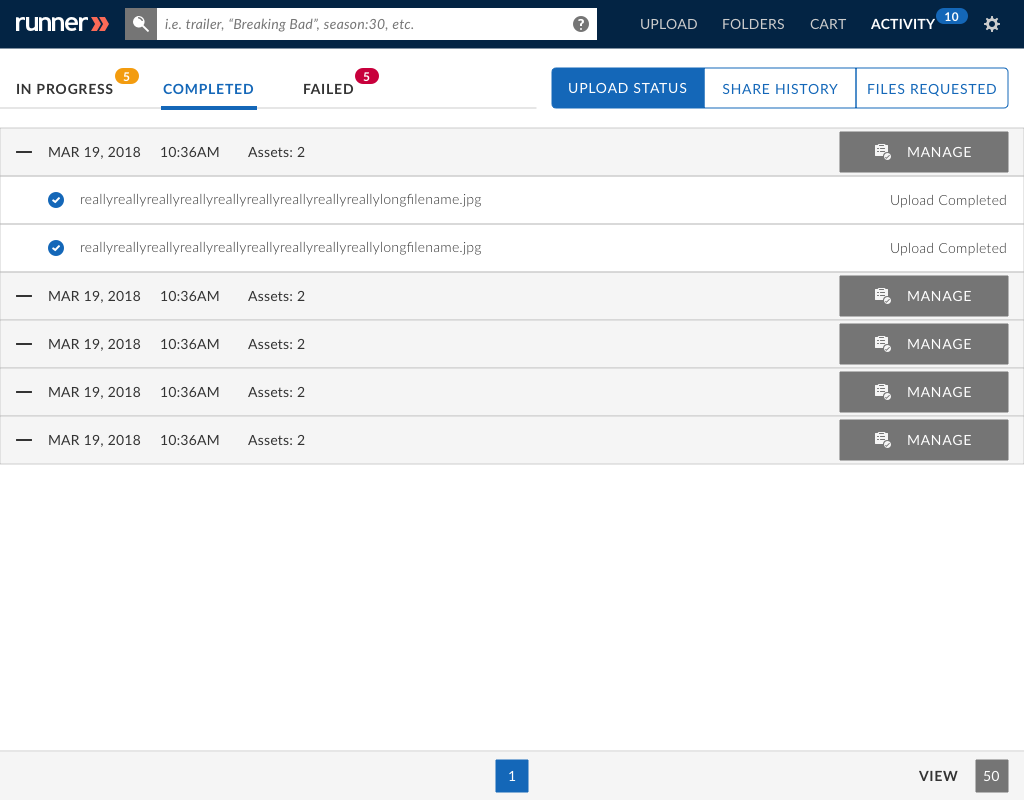
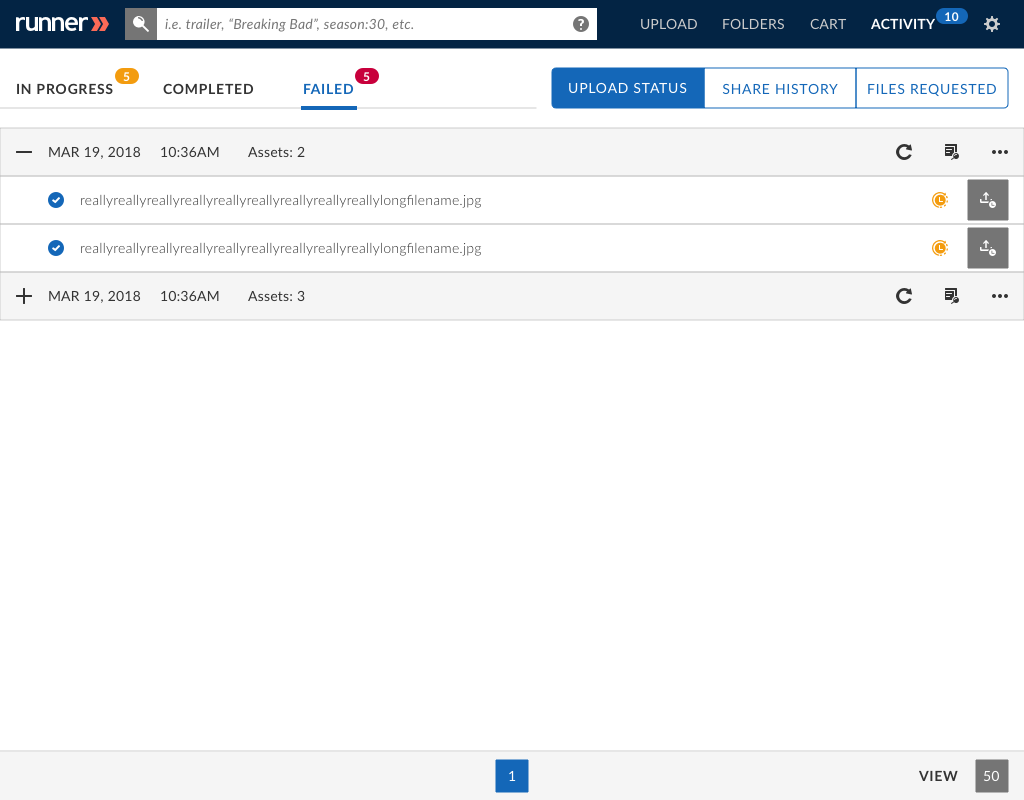
Upload Status
Step 1: Click ‘Upload Status’ to navigate to the activity page and view the status of your in-progress, completed, and failed uploads.
Step 2: Click ‘In Progress’ to review the files that are currently being uploaded to Runner. To review a specific transaction, click  to expand or
  to collapse. To refresh the page click
  .
.
 indicates the file is transferring.
 indicates a checksum in is place.
 indicates proxies are being generated.
 indicates the thumbnail is being generated.
Note: When a file has uploaded, the icons will modify to read ‘Upload Complete’.

Step 3: Click ‘Completed’ to view the assets that have been uploaded. To review a specific transaction, click to expand or to collapse.
Step 4: Click ‘Failed’ to view the files that have failed uploading. To review a specific transaction, click to expand or to collapse.
View Assets
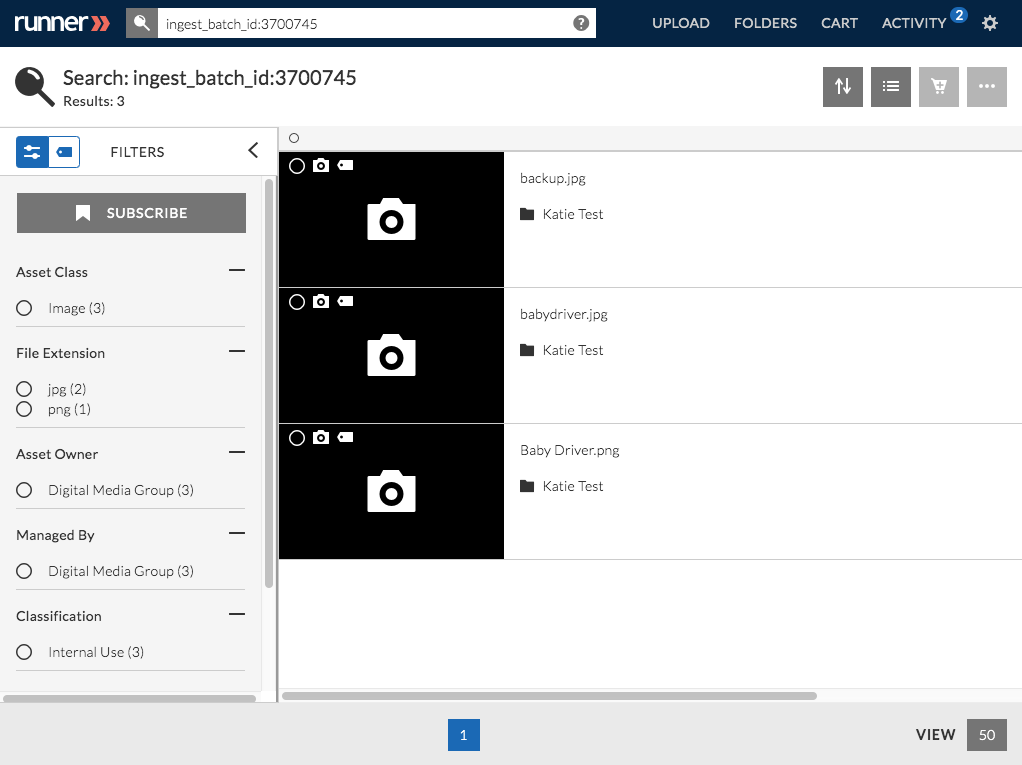
Step 1: Click ‘View Assets’ to navigate to your uploaded assets.
Add To Cart
Step 1: Click ‘Add to Cart’ to add your uploaded assets to a specific cart.

Step 2: After clicking ‘Confirm’, your uploaded assets will be added to the chosen cart.
