
Upload a Folder Package
Runner provides the option to upload groups of files in ‘Folder Packages’. By selecting and dragging a folder structure from your computer into the upload window, you can upload the parent folder, subfolders, and files inside the folders to Runner, and keep them all together in one file record. Every folder package generates a list of the files and folders inside of it.
‘Folder Packages’ are a helpful option if you need to upload a group of files, but you do not want to create a Runner record for every file, or you do not want to compress the group of files into a .zip or similar archive format.
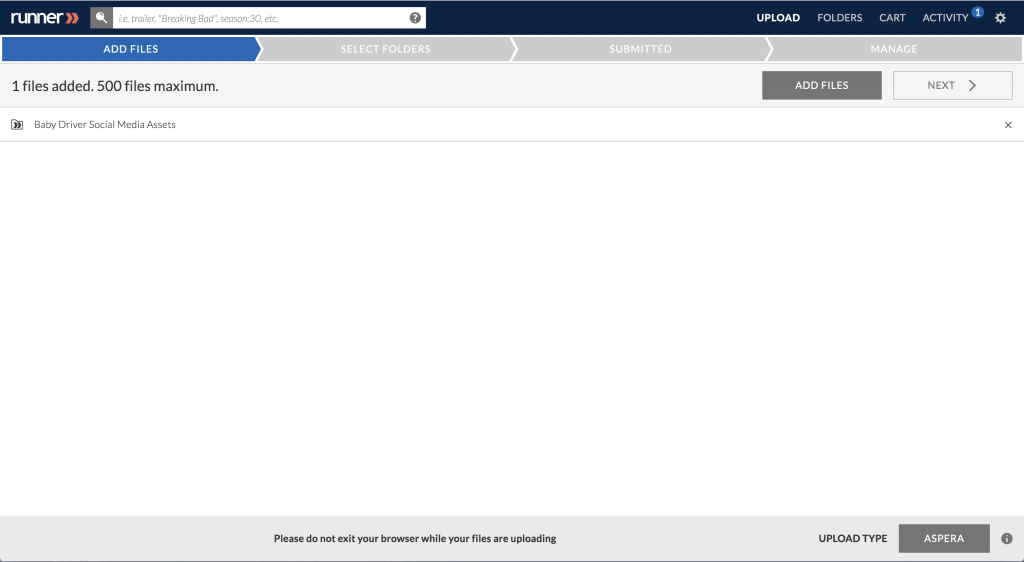
Step 1: Click on ‘Upload’ in the navigation bar to begin uploading files to Runner.
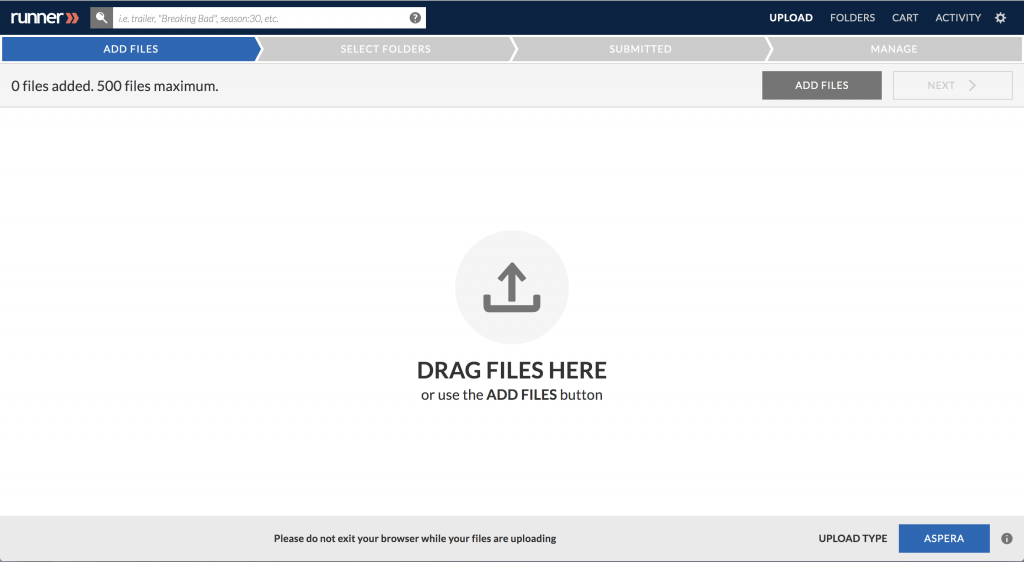
Step 2: At the bottom of your screen, select ‘Aspera’ as your upload type.
Note: Set your upload type preference on Runner’s User Preferences page.
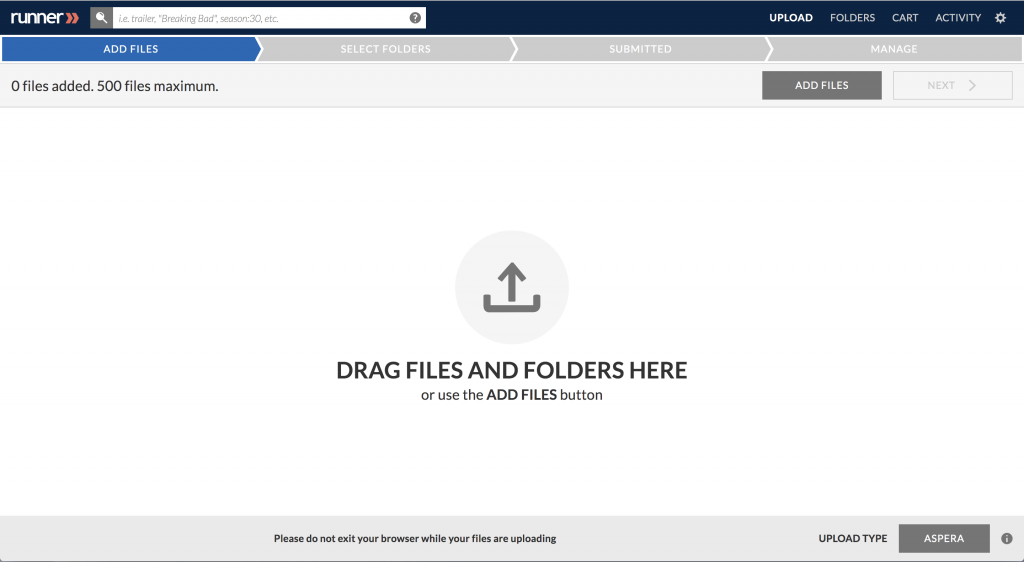
Step 3: Drag and drop your folder package into the space named ‘Drag Files and Folders Here’ (the queue) or click ‘Add Files’. To remove an asset, click  next to the filename. When you’ve completed adding your assets click ‘Next’.
Note: We recommend avoiding certain executable file types, files within the folder package that don’t have an extension or file size, and uploading a folder package with more than 35,000 files. Runner also does not support file names that contain: 
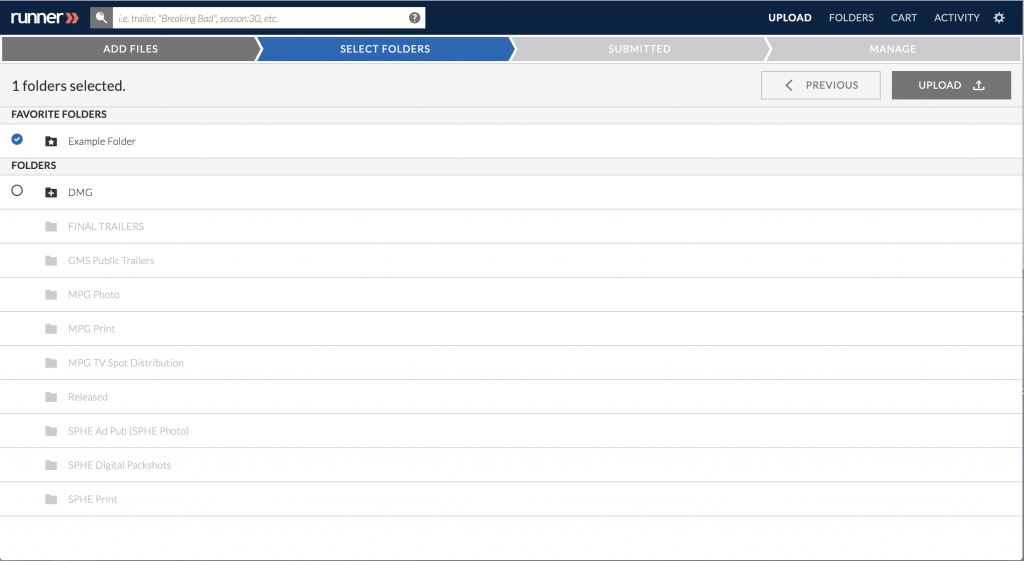
Step 4: Select the folder(s) you want to add your asset(s) to by selecting  . To expand a folder structure, select
  or to collapse a folder structure select
  . The
. The  icon indicates a successful selection. When you’ve completed selecting the folder(s), click ‘Upload’.
Note: Your favorite folders will automatically be displayed at the top of the folder list. A lighter grey folder icon  indicates that you don’t have permission to upload to that folder.
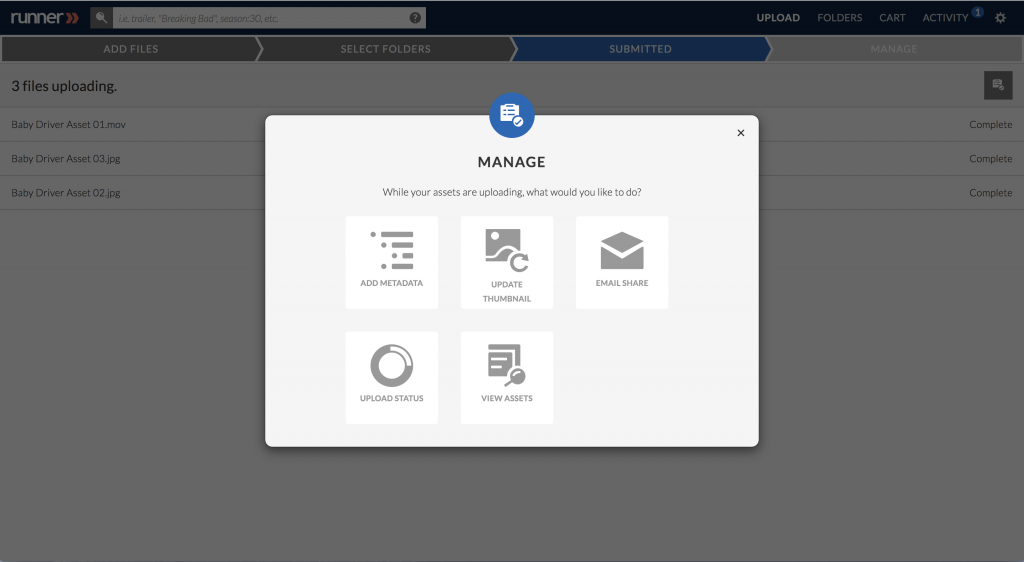
Step 5: While your folder package(s) are uploading, the ‘Manage’ modal will appear where you have the option of tagging the folder package(s) with metadata, updating the folder packages’ thumbnail, creating a share, checking the upload status, or viewing the folder package(s). To close out of the ‘Manage’ modal, click .
View more information about managing uploaded folder packages here.
Note: It’s very important that while the assets are uploading, please keep Runner/your browser window open, otherwise your upload will not be completed.
Step 6: An email notification will be sent to you when the upload completes.

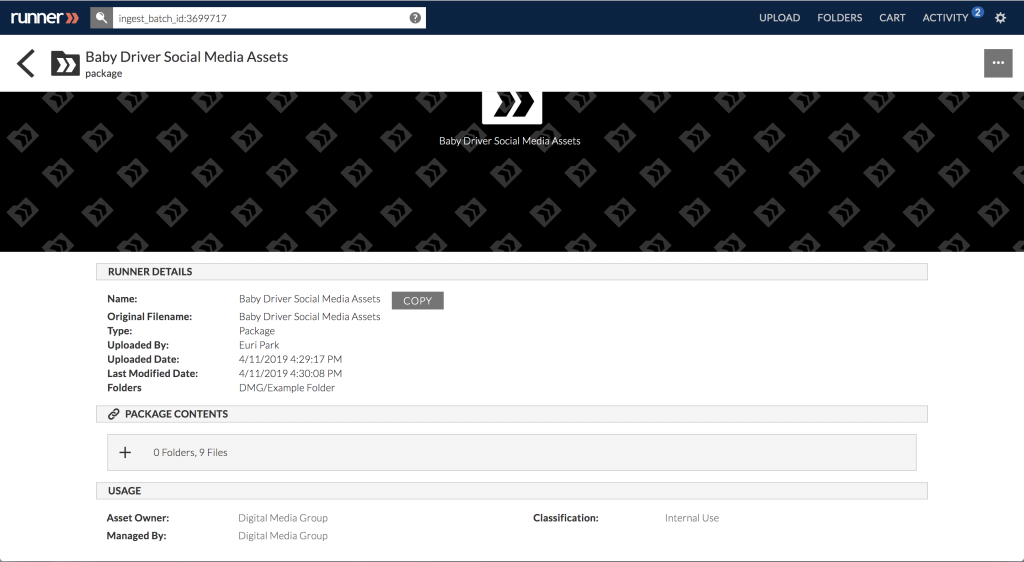
Step 7: Navigate to the folder package to review the package contents.
Note: This  represents that it’s a folder package.
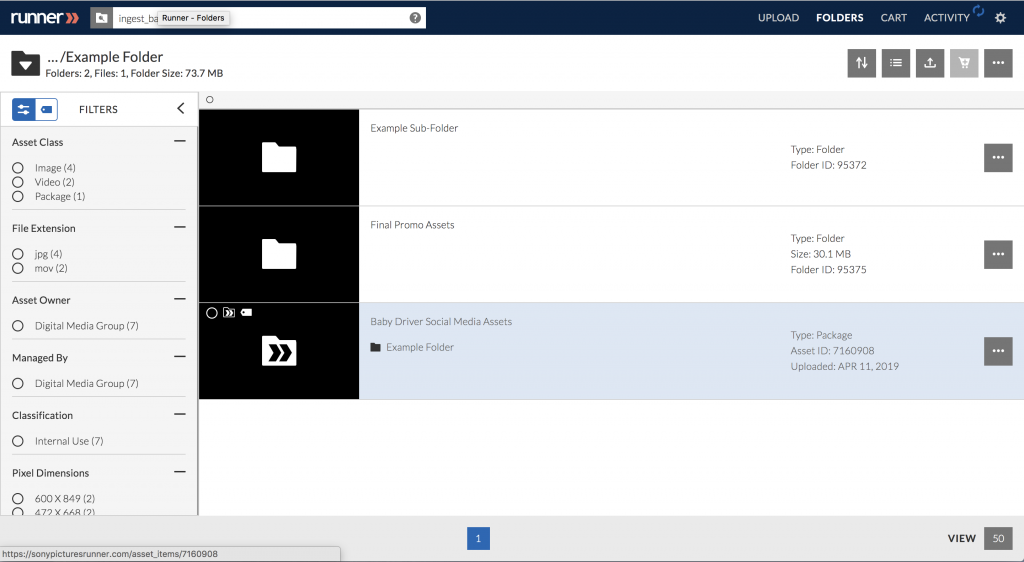
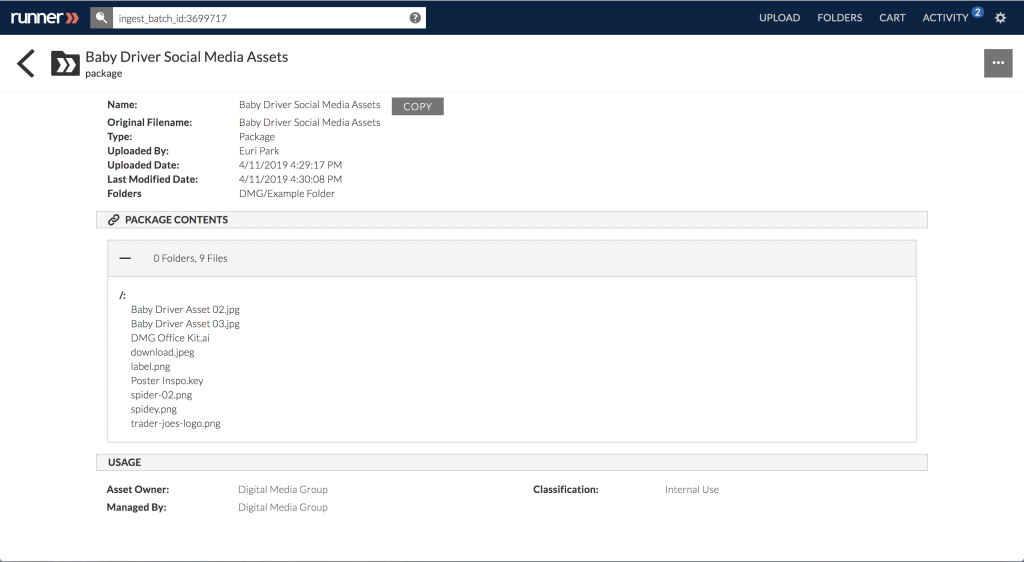
Step 8: Review the folder package content list by clicking  to expand or click
  to collapse.