
Create a Protected Share
Protected shares are used to share sensitive content to prevent shares from being forwarded to unintended recipients. The recipient will have to verify themselves in order to access the shared assets.
Step 1: Navigate to the asset(s) you would like to share. Click  and select ‘Share’ from the context menu.
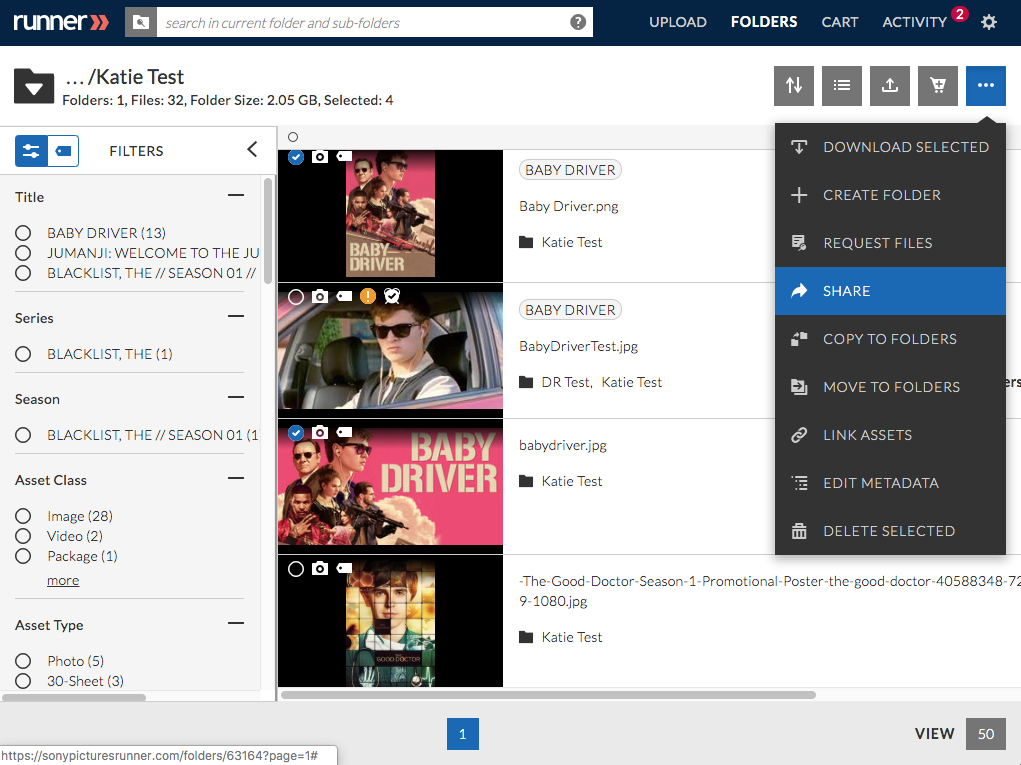
Step 2: Click ‘Email Share’ and enter the recipient’s email address(es), subject, and message. Select the email branding, permissions, expiration date, preview limit, and download limit for this share. Select ‘Protected’ under ‘Additional Options’ to create a protected share.
Preview Only: recipients can only view the asset(s), but not download them
Download: recipients can preview and download the asset(s)
Proxy Only Download: recipients can preview and download the asset’s proxies
Auto-Preview: will preview the asset(s) automatically when the recipient opens the share
Protected Share: will prevent shares from being forwarded to unintended recipients (the recipient will have to verify themselves in order to access the shared assets)
Include Metadata: recipients can view metadata associated with the shared asset(s)

Step 3 (Optional): Depending on if you select a preview-only, download, or proxy-only download share, you can add an overlay, burn-in, or forensic watermark to your selected assets by selecting  . After all selections have been made, click ‘Share’.

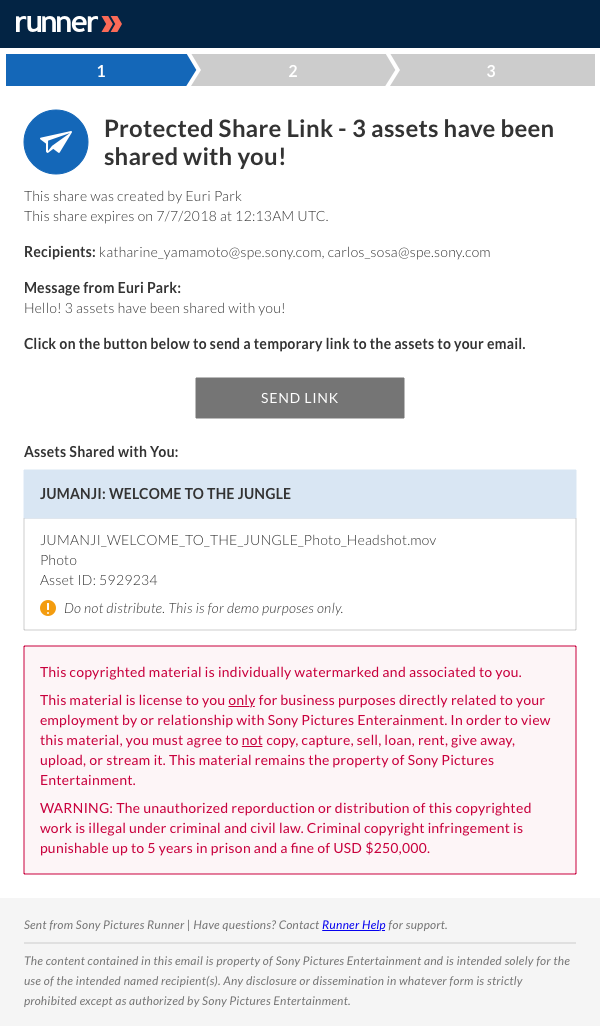
Step 4: An email notification will be sent to the share recipients.
View a Protected Share | Getting Started
Step 1: An email notification will be sent to you. Click ‘Send Link’.
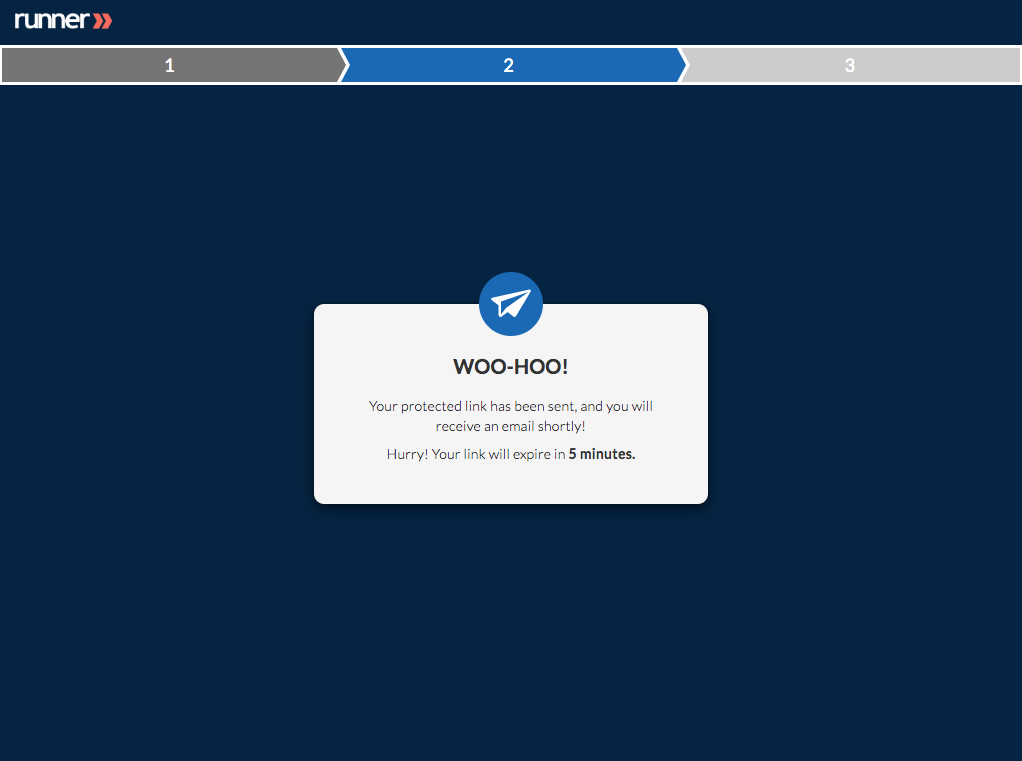
Step 2: You will be navigated to a webpage, confirming that a protected link is being sent to you.
Note: the protected link will expire in 5 minutes.
Step 3: An email notification will be sent to you which contains the protected share link. Click ‘View Assets’.
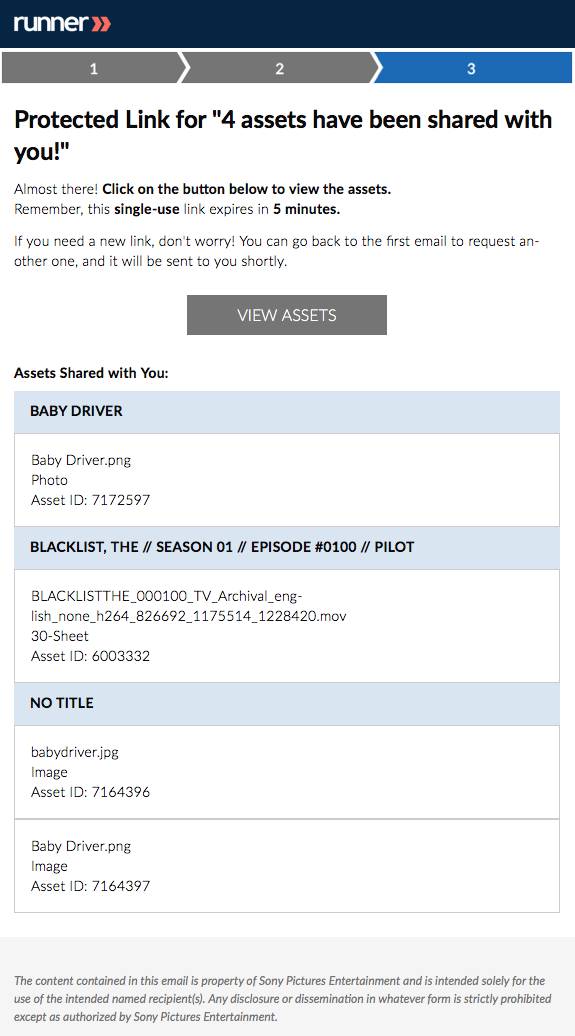
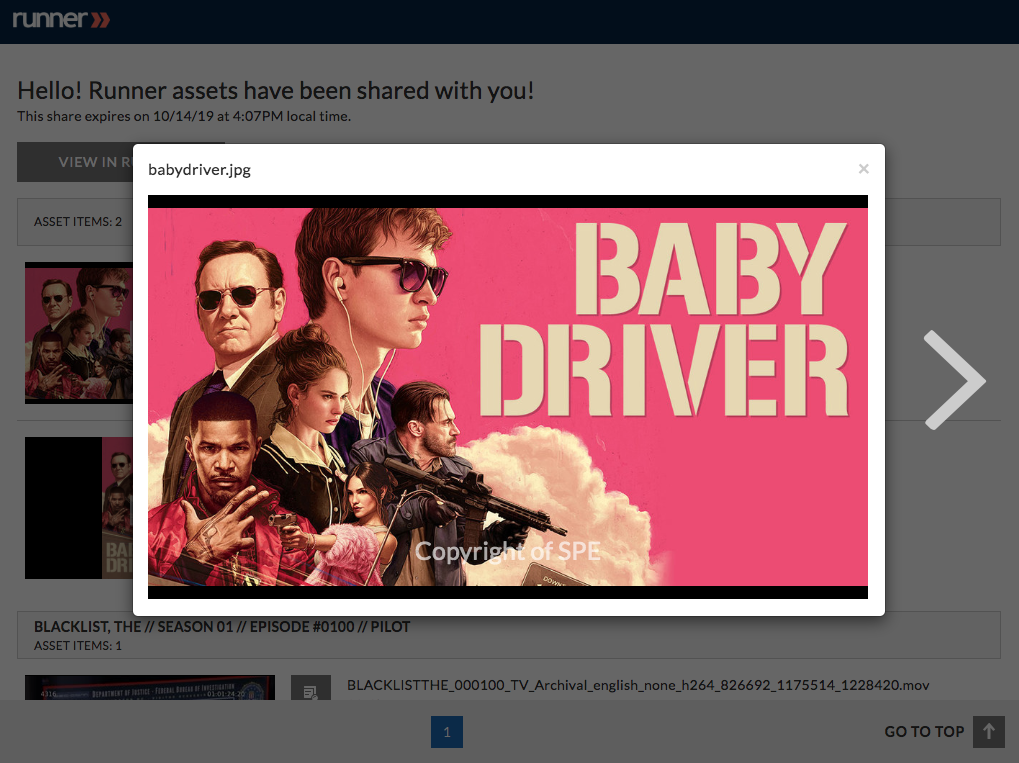
Step 4: From the share page, you can preview or download shared assets without logging into Runner.