
Upload with Existing Metadata
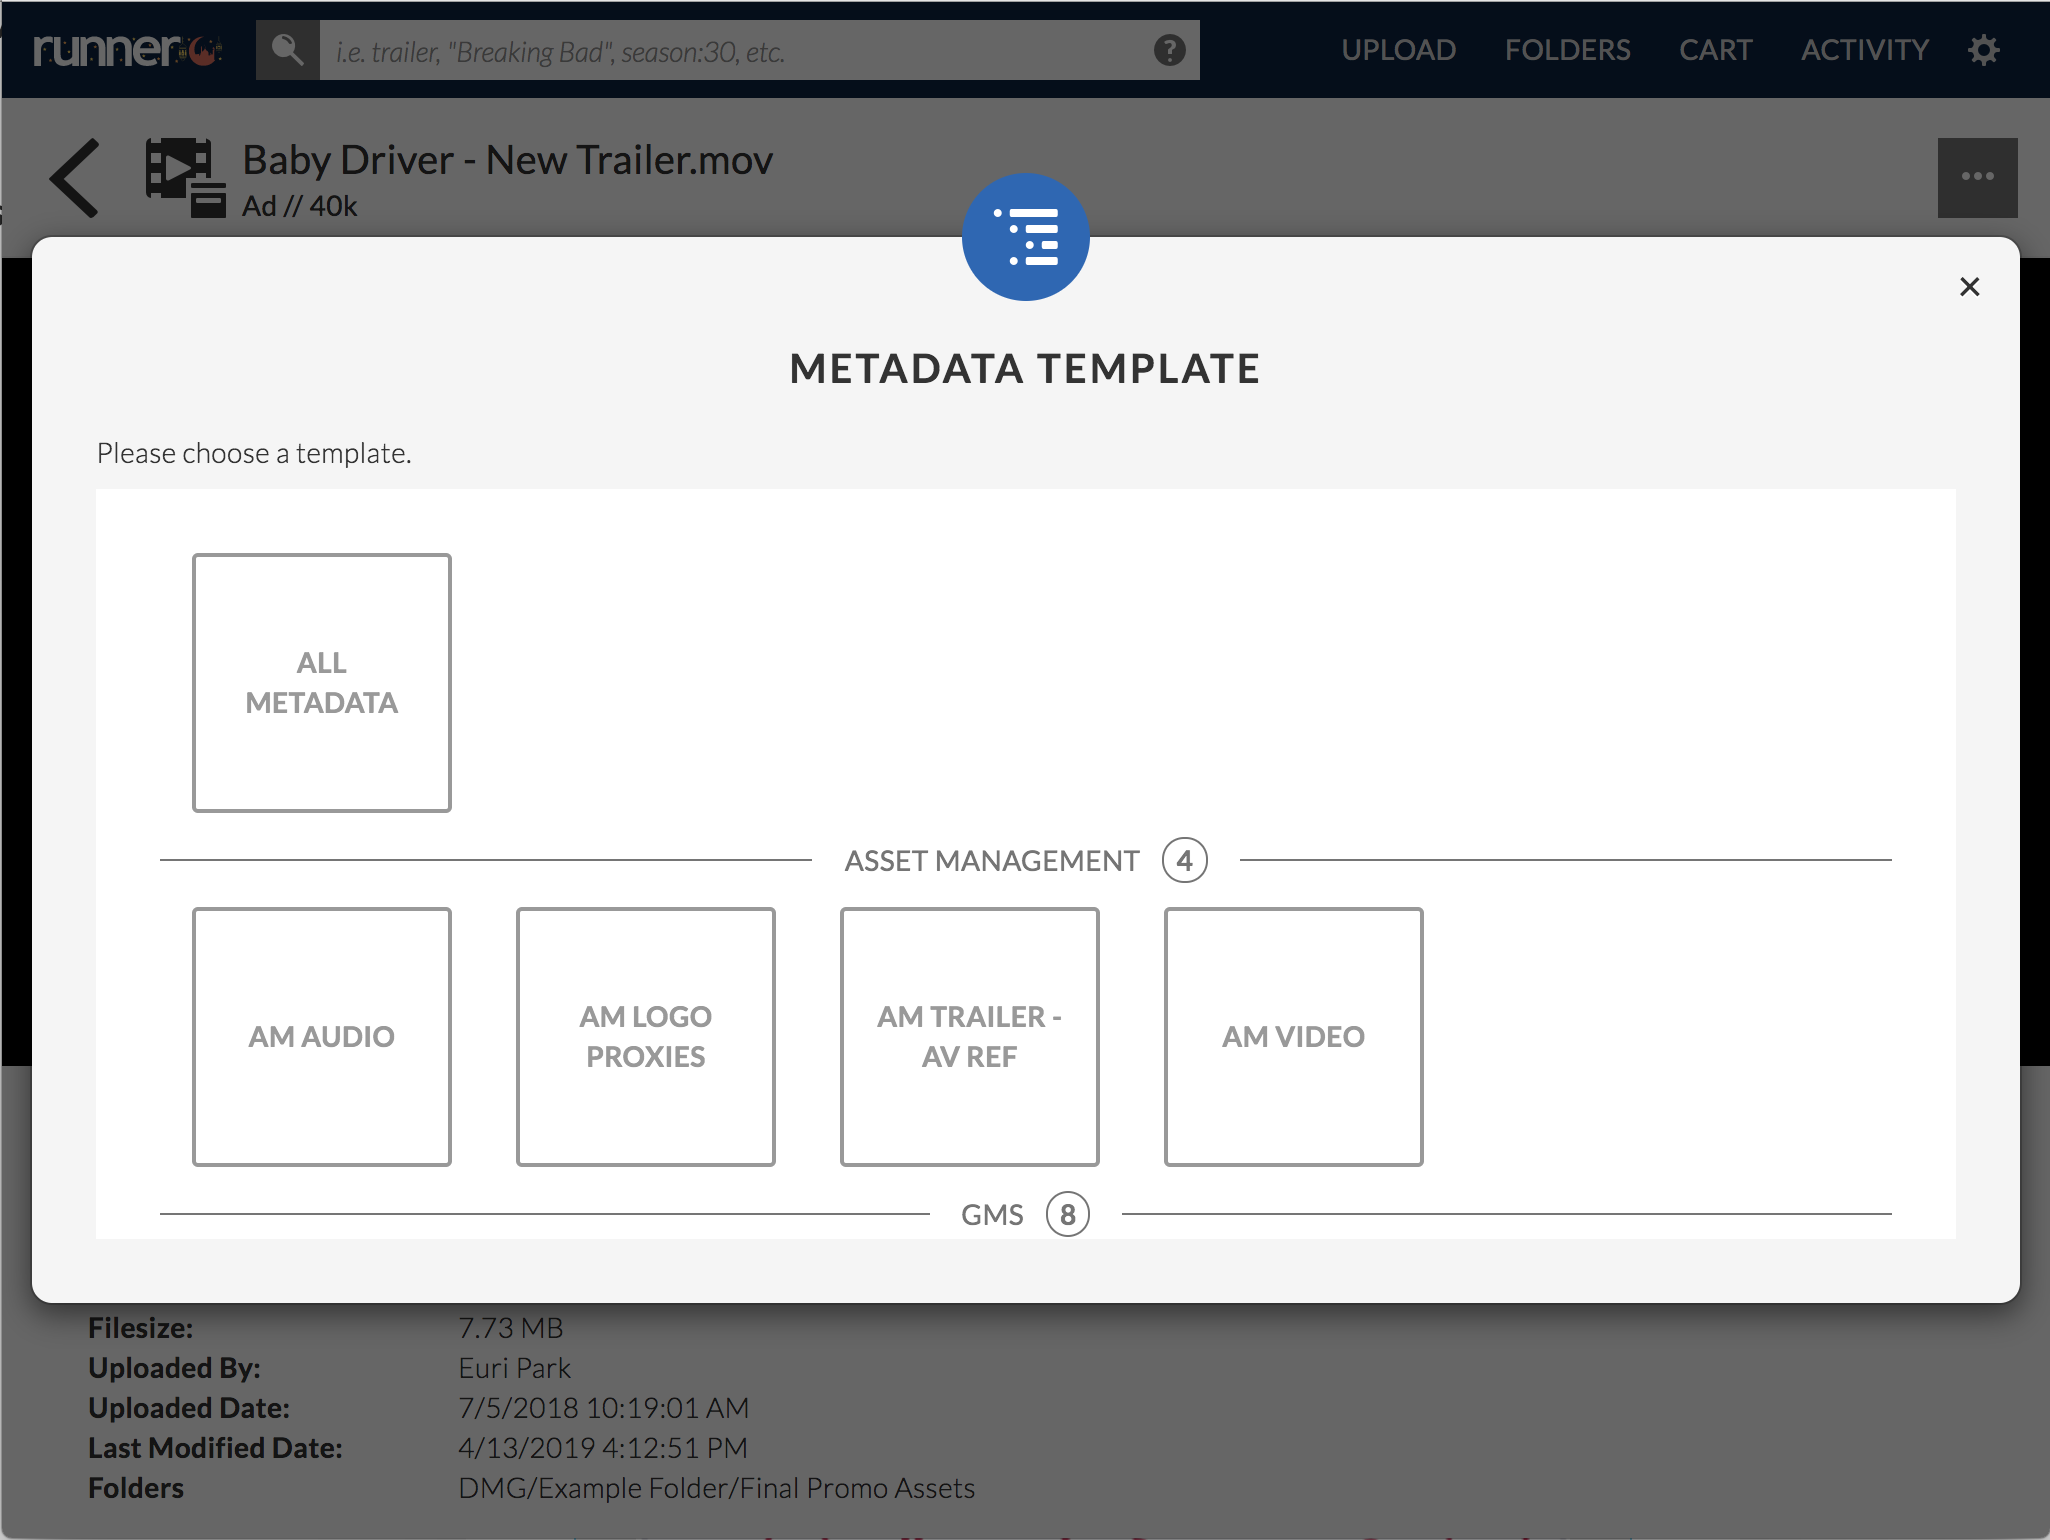
The Metadata Template page guides you to select a metadata template with pre-determined required fields that best suit your workflow. Navigate to this page by selecting ‘Add Metadata’ in the ‘Manage’ Modal after uploading.
Step 1: Navigate to the asset that has the metadata you want your uploaded files to include. Click ![]() and select ‘Upload with Existing Metadata’ from the context menu.
and select ‘Upload with Existing Metadata’ from the context menu.

Step 2: The ‘Metadata Template’ modal will appear. Select the metadata template that you would like to be applied to your upload.
Step 3: Drag and drop your files into the space named ‘Drag Files Here’ (the queue) or click ‘Add Files’. To remove an asset, click  next to the filename. When you’ve completed adding your assets click ‘Next’.
Note: Runner does not support file names that contain: 

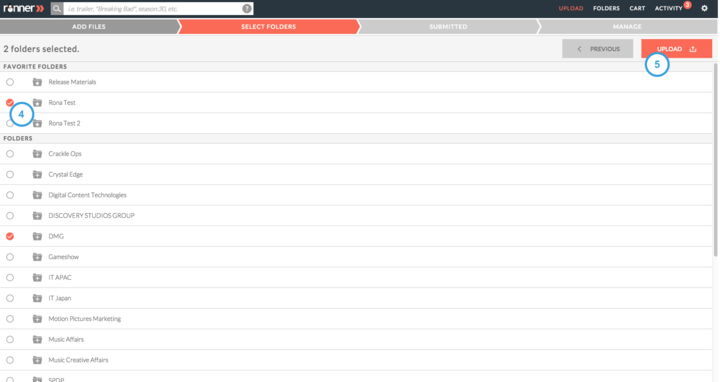
Step 4: Select the folder(s) you want to add your asset(s) to by selecting  . To expand a folder structure, select
  or to collapse a folder structure select
  . The
. The  icon indicates a successful selection. When you’ve completed selecting the folder(s), click ‘Upload’.
Note: Your favorite folders will automatically be displayed at the top of the folder list. A lighter grey folder icon  indicates that you don’t have permission to upload to that folder.
Step 5: All metadata from the existing asset that applies to the selected metadata template, will be applied to your new, uploaded assets. While the upload is processing, add or modify metadata.

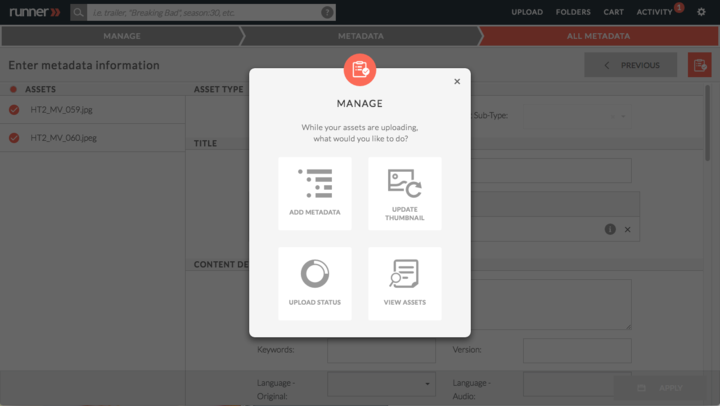
Step 6 (Optional): You can select  , on the top right to access the ‘Manage’ modal for further options.
View more information about managing uploaded assets here.
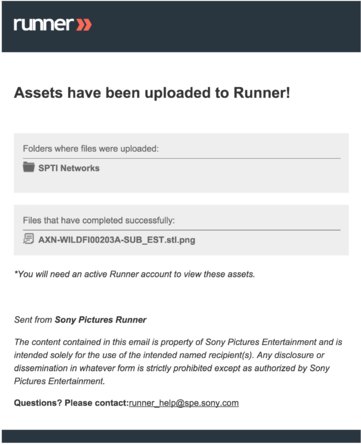
Step 7: An email notification will be sent to you when the upload completes.