- April 11, 2019
- 3 Minute to read
- Upload
Upload Assets
You can upload assets to Runner by two methods: Accelerated Upload or Aspera. Depending on your network connection, this determines which upload method is best for uploading assets to Runner.
Accelerated Upload
Accelerated Upload uses Multipart HTTP technology to segment your files into multiple parts and upload those parts simultaneously through your browser session. We recommend using Accelerated Upload if your network connection is stable and robust.
Note: Accelerated Upload is only supported on Chrome and can only be completed if the browser/window remains open during the upload process.
Step 1: Click on ‘Upload’ in the navigation bar to begin uploading files to Runner.
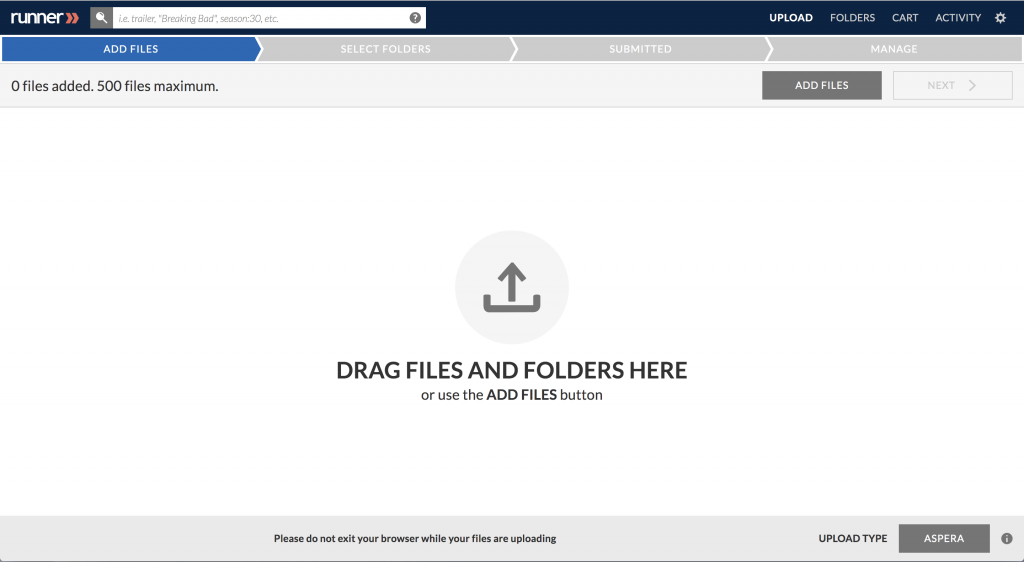
Step 2: At the bottom of your screen, select ‘Accelerated’ as your upload type.
Note: Set your upload type preference on Runner’s User Preferences page.
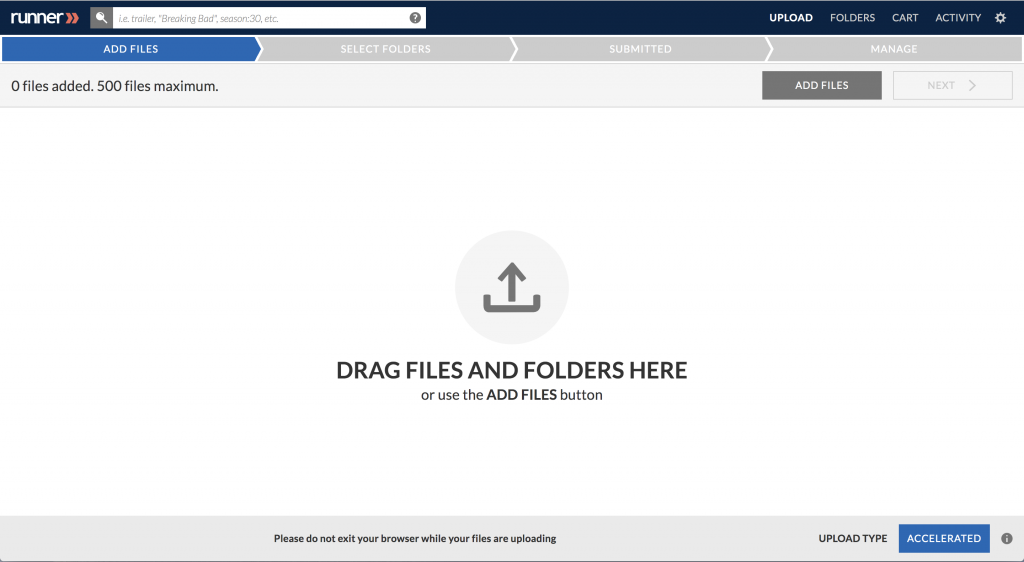
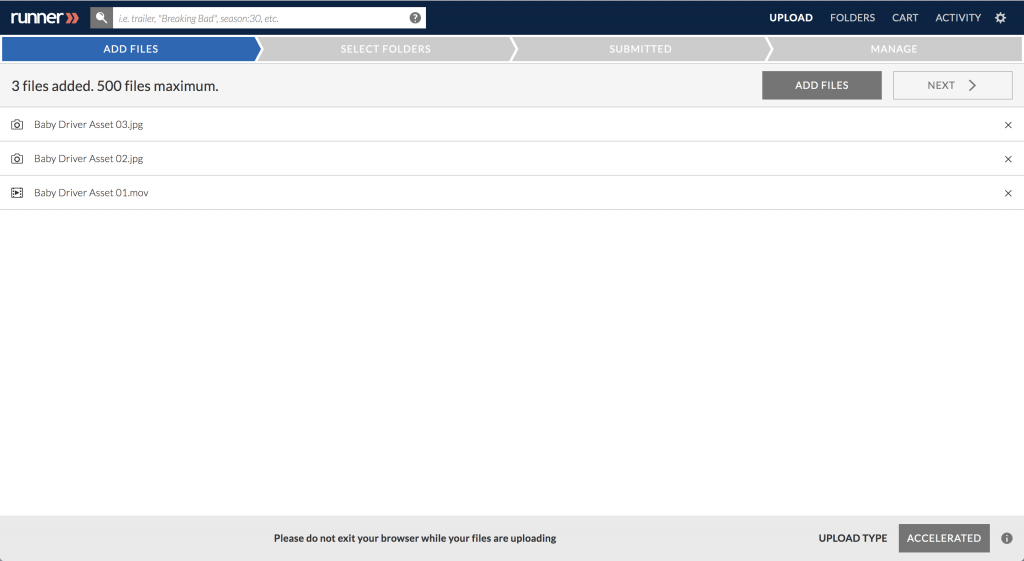
Step 3: Drag and drop your files into the space named ‘Drag Files Here’ (the queue) or click ‘Add Files’. To remove an asset, click  next to the filename. When you’ve completed adding your assets click ‘Next’.
Note: Runner does not support file names that contain: 
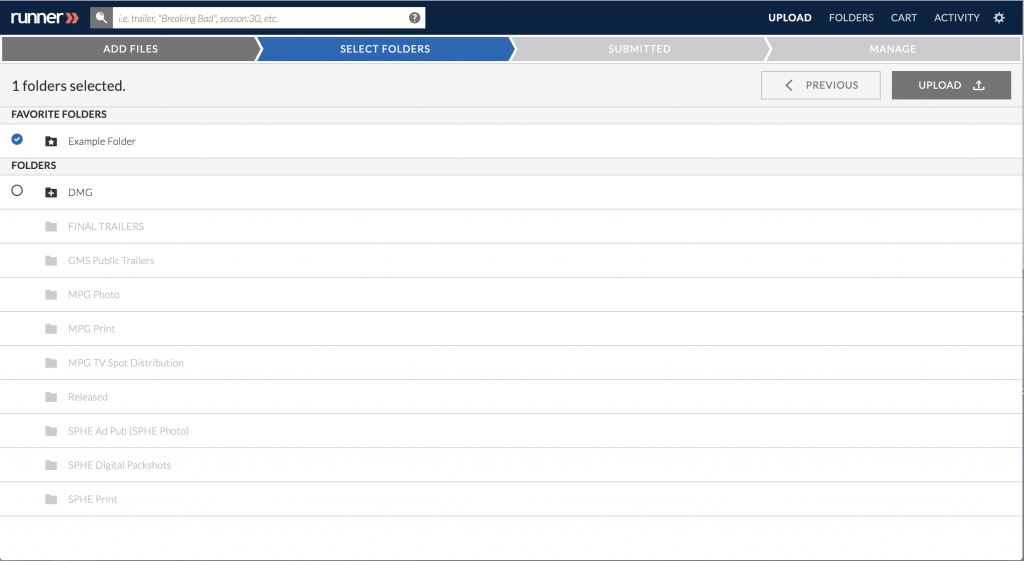
Step 4: Select the folder(s) you want to add your asset(s) to by selecting  . To expand a folder structure, select
  or to collapse a folder structure select
  . The
. The  icon indicates a successful selection. When you’ve completed selecting the folder(s), click ‘Upload’.
Note: Your favorite folders will automatically be displayed at the top of the folder list. A lighter grey folder icon  indicates that you don’t have permission to upload to that folder.
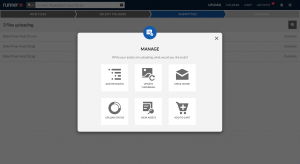
Step 5: While your assets are uploading, the ‘Manage’ modal will appear where you have the option of tagging the assets with metadata, updating the assets’ thumbnail, creating a share, checking the upload status, or viewing the assets. To close out of the ‘Manage’ modal, click  .
.
View more information about managing uploaded assets here.
Note: It’s very important that while the assets are uploading, please keep Runner/your browser window open, otherwise your upload will not be completed.
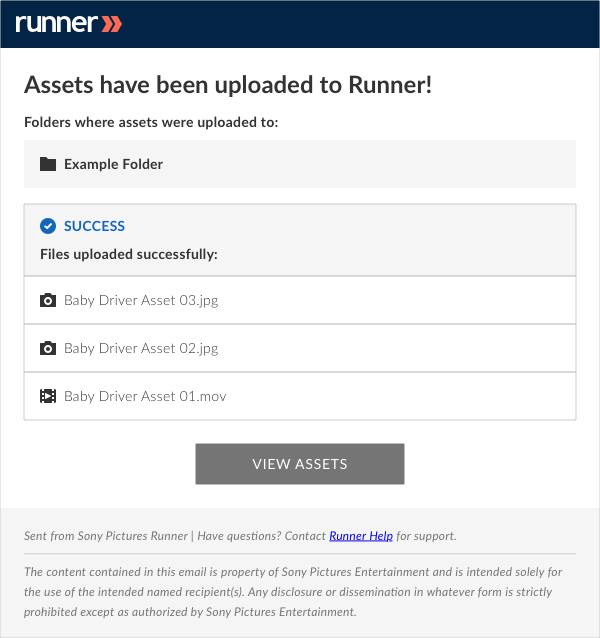
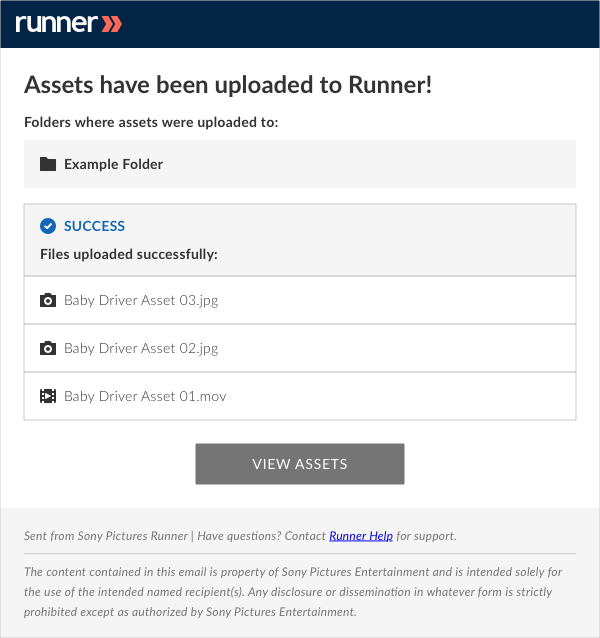
Step 6: An email notification will be sent to you when the upload completes.
Aspera Upload
Aspera Upload uses Aspera Connect which specializes in secure, SSL-Encrypted transfers, and excels in achieving no packet loss over low bandwidth and high latency connections. We recommend using Aspera if your network connection is unreliable or limited in bandwidth.
Step 1: Click on ‘Upload’ in the navigation bar to begin uploading files to Runner.

Step 2: At the bottom of your screen, select ‘Aspera’ as your upload type.
Note: Set your upload type preference on Runner’s User Preferences page.
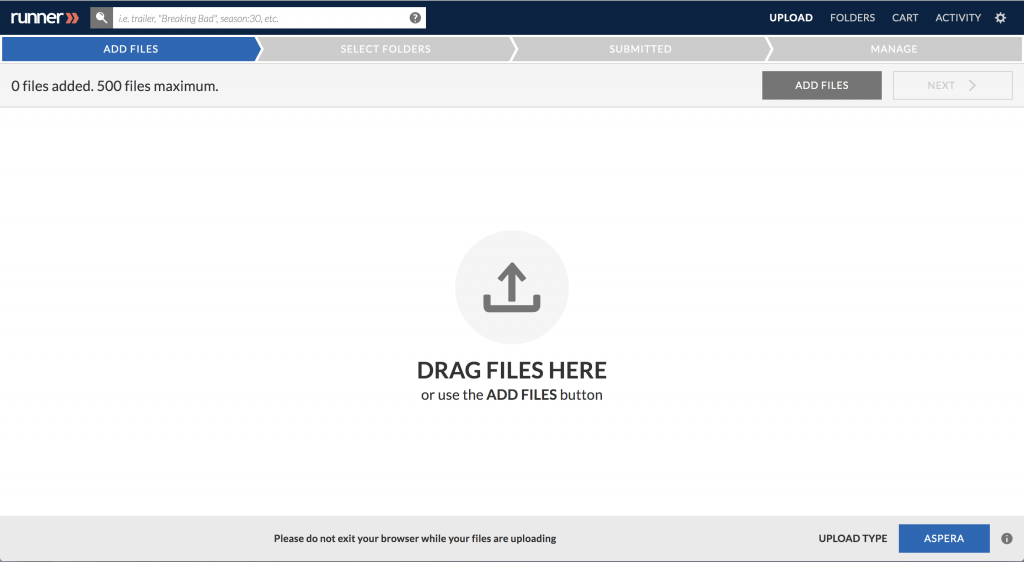
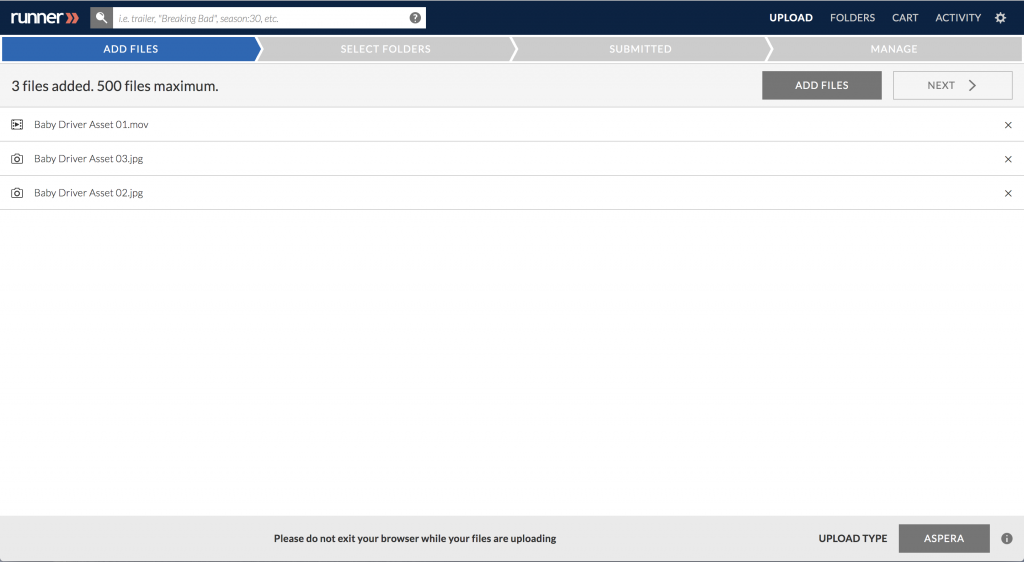
Step 3: Drag and drop your files into the space named ‘Drag Files Here’ (the queue) or click ‘Add Files’. To remove an asset, click  next to the filename. When you’ve completed adding your assets click ‘Next’.
Note: Runner does not support file names that contain: 
Step 4: Select the folder(s) you want to add your asset(s) to by selecting  . To expand a folder structure, select
  or to collapse a folder structure select
  . The
. The  icon indicates a successful selection. When you’ve completed selecting the folder(s), click ‘Upload’.
Note: Your favorite folders will automatically be displayed at the top of the folder list. A lighter grey folder icon  indicates that you don’t have permission to upload to that folder.

Step 5: While your assets are uploading, the ‘Manage’ and ‘Aspera’ modal will appear. The ‘Aspera’ modal will display your asset(s) upload process. The ‘Manage’ modal is where you have the option of tagging the assets with metadata, updating the assets’ thumbnail, creating a share, checking the upload status, or viewing the assets. To close out of the ‘Manage’ modal, click  .
.
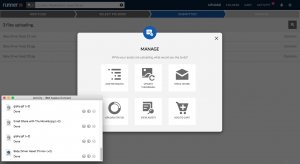
Step 6: An email notification will be sent to you when the upload completes.
Proxies
Proxies are generated on upload for previewing and streaming purposes depending on the asset’s original size.
Example: When a video is uploaded, the following MP4 H.264 proxies are created by default:
- 960×540, 1650kbps video, 128kbps 44.1khz audio
- 640×360, 560kbps video, 128kbps 44.1khz audio
- 480×270, 200kbps video, 64kbps 44.1hz audio
When an audio file is uploaded, the following proxy is created:
- MP3 96kbps
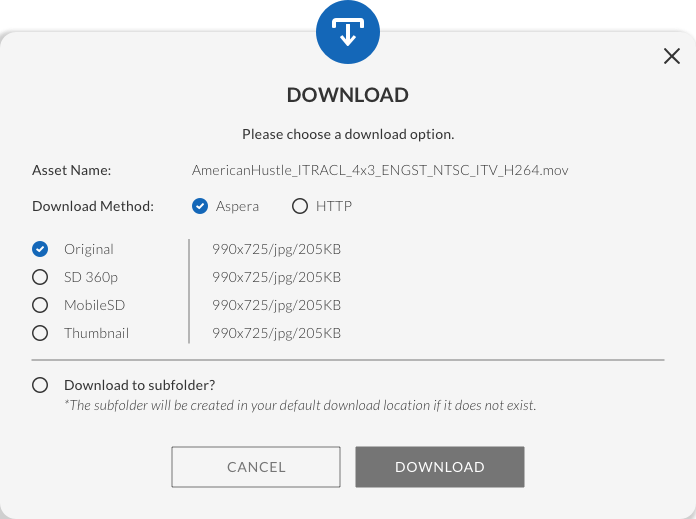
For all video proxies, all audio channels are mapped based on this diagram:


