- April 18, 2019
- 2 Minute to read
- Share
Burn-in Watermarking
Burn-in watermarking is a process in which Runner creates a new video with the text burned in. These burned-in video and PDF document assets are available for streaming and download. Burn-in watermarking is a permission-based feature.
Videos
Step 1: Create an email share for the video(s) you’d like to share.
Note: Only videos that have proxies are eligible for burn-in watermarking.
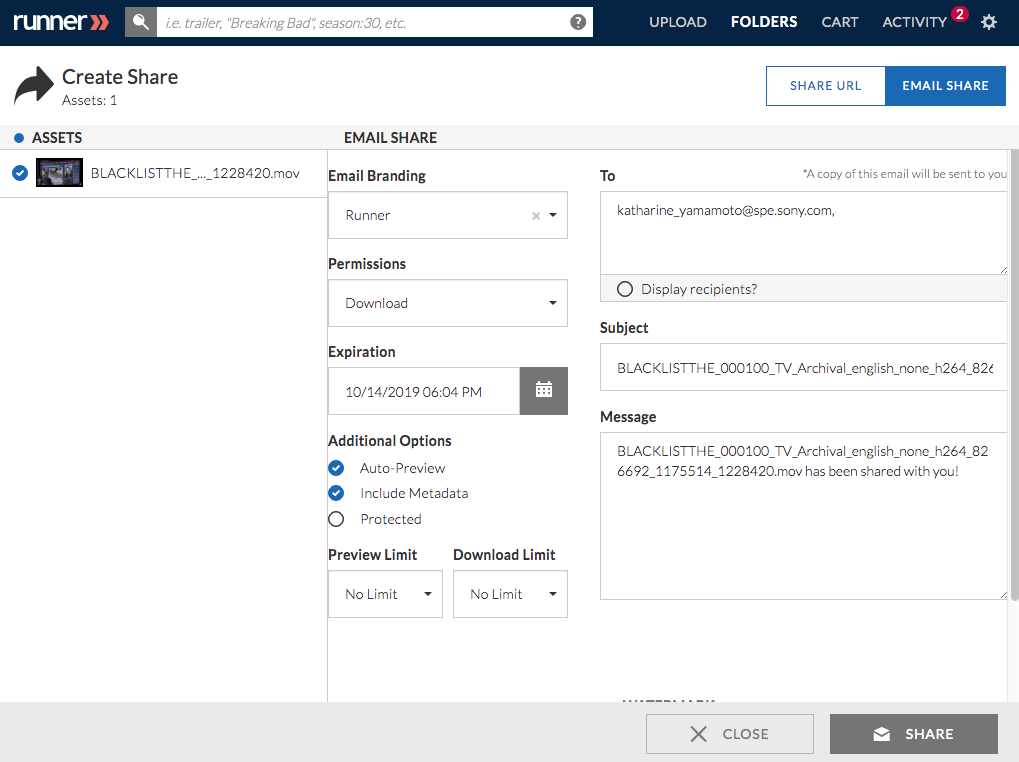
Step 2: Select ‘Burn-in’ under ‘Visible Watermark Options’.
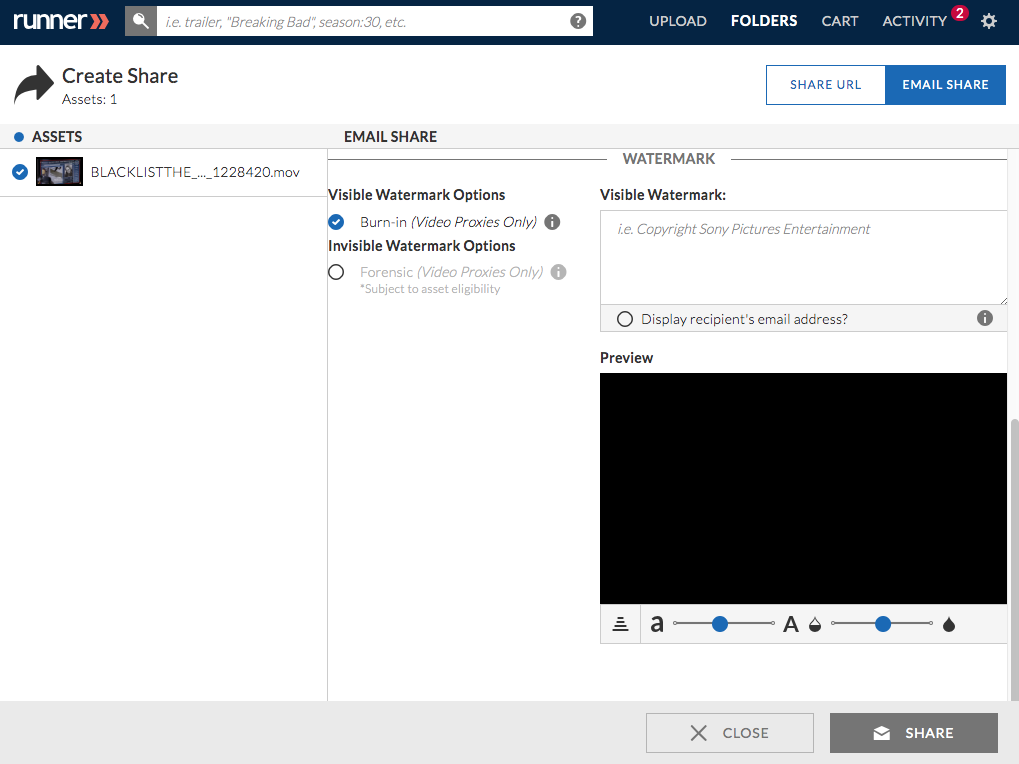
Step 3: Enter text that will be burned-in on each asset as the burn-in watermark. To modify the location of the watermark click  . To modify the font-size, slide
  between ‘a’ and ‘A’. To modify the opacity, slide
  between
  and
and  . Select
  to display the recipients email address as a burn-in watermark. After all selections have been made, click ‘Share’.
Note: The preview window displays how the visible watermark will be burned-in onto each video. If you leave the ‘Visible Watermark’ text field blank, there will be no visible watermark burned-in on the video(s).
Note: Runner will create a new video with the text burned-in. Upon completion, the burned-in video(s) is shared with the recipient as soon as possible, but depending on the length and volume of asset(s), shares may be delayed between an hour and a day.
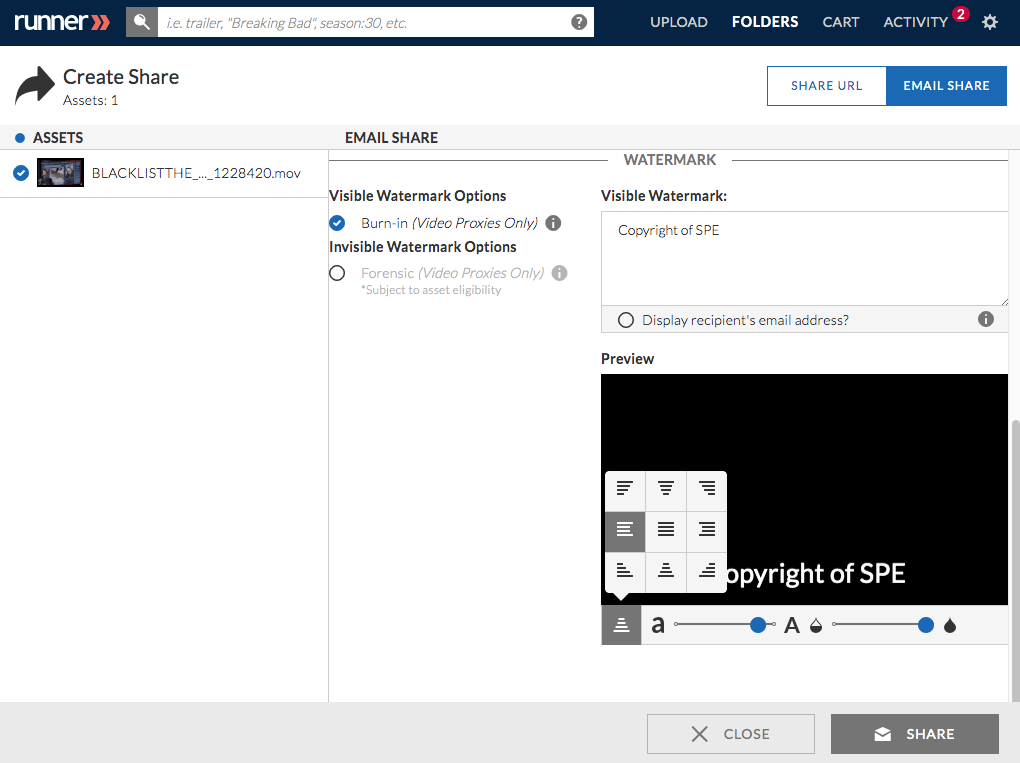
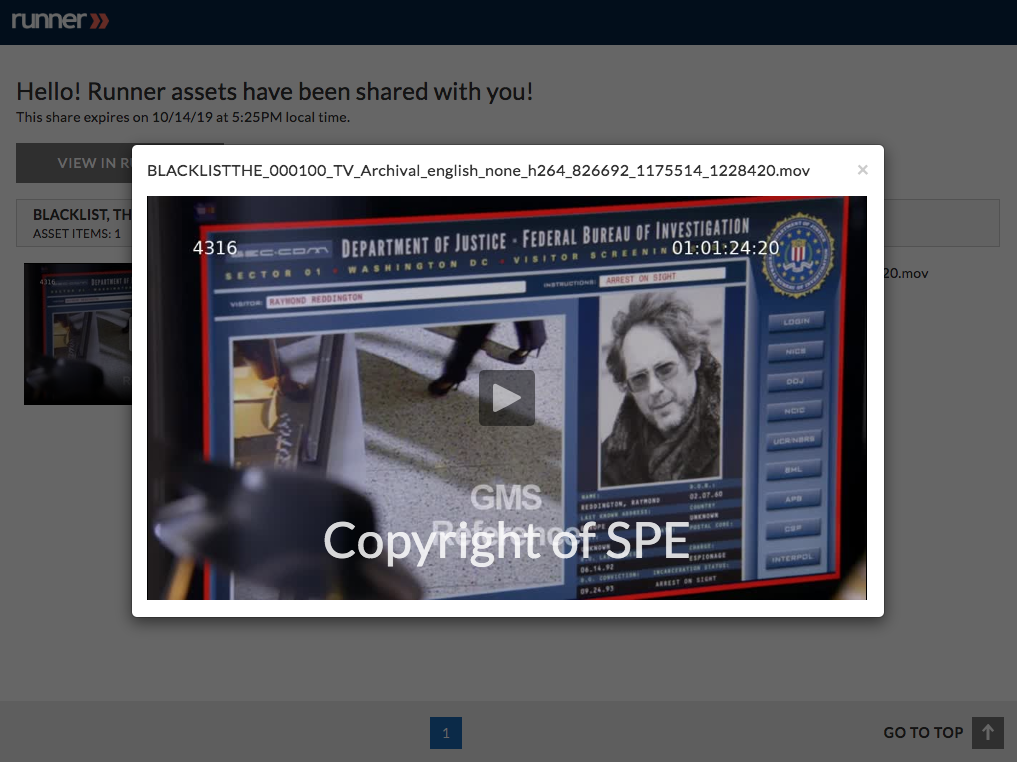
Step 4: Share recipients will access the burned-in watermarked assets on the email share page.
PDF Documents
Step 1: Create an email share for the PDF document(s) you’d like to share.
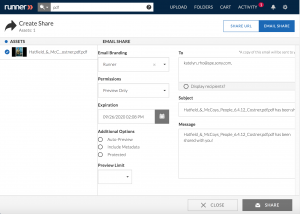
Step 2: Select ‘Download’ under ‘Permissions’ then select “Burn-in” under “Visible Watermark Options”.
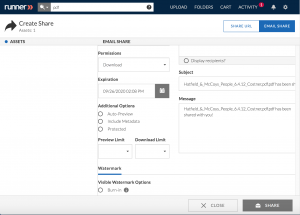
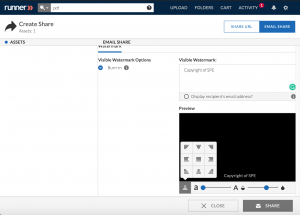
Step 3: Enter text that will be burned-in on each asset as the burn-in watermark. To modify the location of the watermark click  . To modify the font-size, slide
  between ‘a’ and ‘A’. To modify the opacity, slide
  between
  and
and  . Select
  to display the recipients email address as a burn-in watermark. After all selections have been made, click ‘Share’.
Note: The preview window displays how the visible watermark will be burned-in onto each page of the PDF document. If you leave the ‘Visible Watermark’ text field blank, there will be no visible watermark burned-in on the pages of the PDF document(s).
Note: Runner will create a new PDF document with the text burned-in on every page of the document. Upon completion, the burned-in PDF document(s) is shared with the recipient as soon as possible, but depending on the length and volume of asset(s), shares may be delayed between an hour and a day.
Step 4: Share recipients will access the burned-in watermarked assets on the email share page.


