

Two Factor Authentication
The Two-Factor Authentication (TFA) includes an added layer of security that requires not only a username and password, but a 6-digit physical token as well (in this case, your phone).
All Runner users with admin status and/or access to sensitive content (classification: “secret”) are required to log in with Two Factor Authentication (TFA).
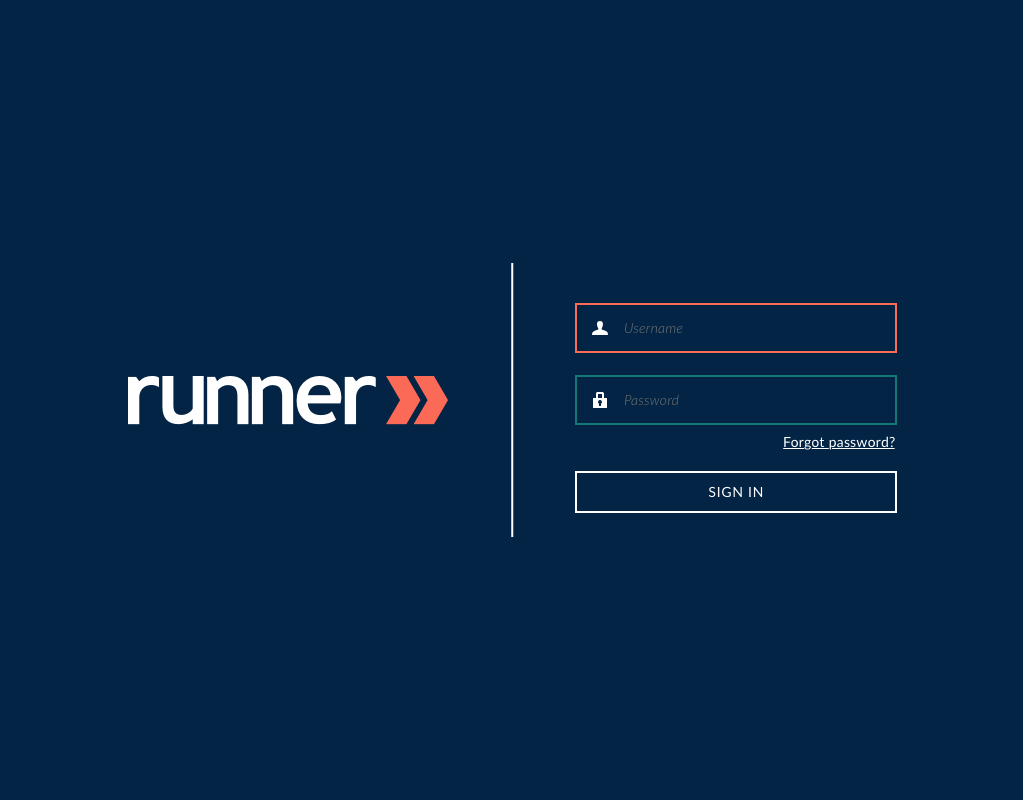
Step 1: Enter your username and password
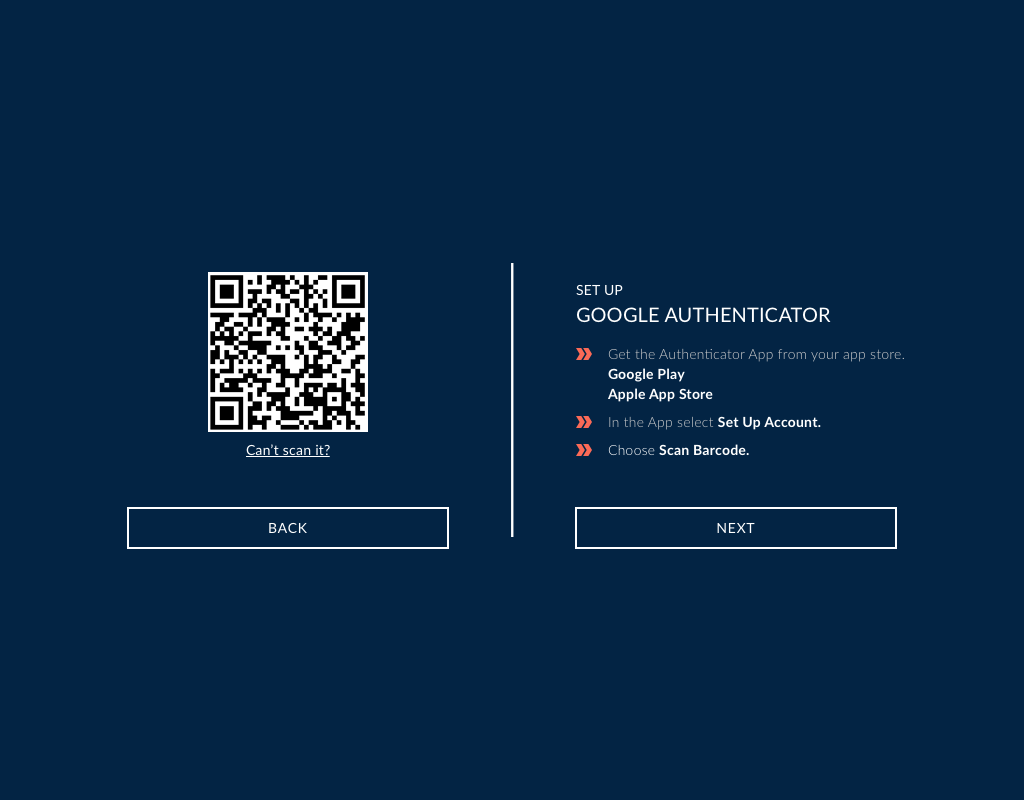
Step 2: Download the Google Authenticator app
*A Google account is not required for using Google Authenticator and the app will not automatically connect to any existing Google accounts that you may have
Step 3: Within the Google Authenticator app:
- Tap ‘Set up Account’
- Tap ‘Scan Barcode’
- Point your camera at the QR code
- Receive unique 6-digit token (The clock icon on your phone will let you know how much time is left before the verification code expires and a new code is generated)
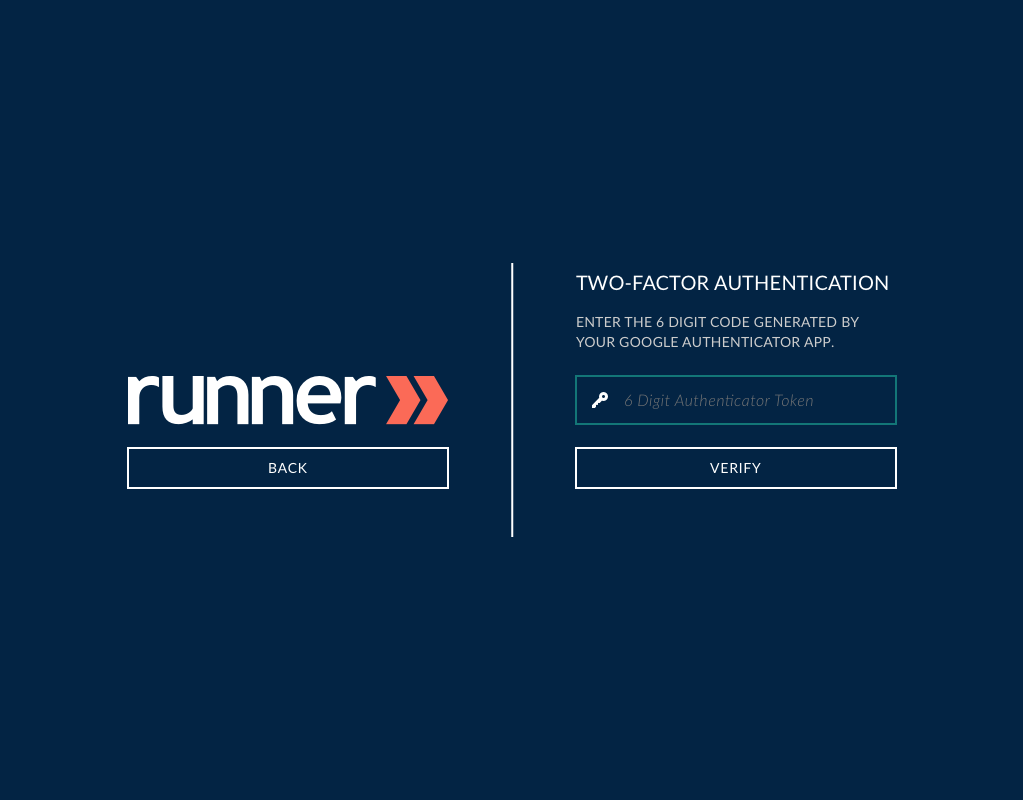
Step 4: Enter the 6-digit token into the text field and click ‘Verify’.
*Your Google Authenticator app is not set up with Runner until the QR code is scanned and your corresponding token is entered. If the registration process is incomplete, you will have to repeat the process until the token is entered and verified.
Troubleshooting FAQ’S
Which authenticator app are you talking about?
The Google Authenticator app is available through the:
- iOS App Store https://itunes.apple.com/us/app/google-authenticator/id388497605?mt=8
- Google Play Store https://support.google.com/accounts/answer/1066447?hl=en
What if I have trouble downloading the app?
Here are some troubleshooting guides that may resolve the issue:
- iPhone https://help.apple.com/iphone/10/#/iph3dfd91de
- Android https://support.google.com/googleplay/troubleshooter/6241347?hl=en&ref_topic=1046719
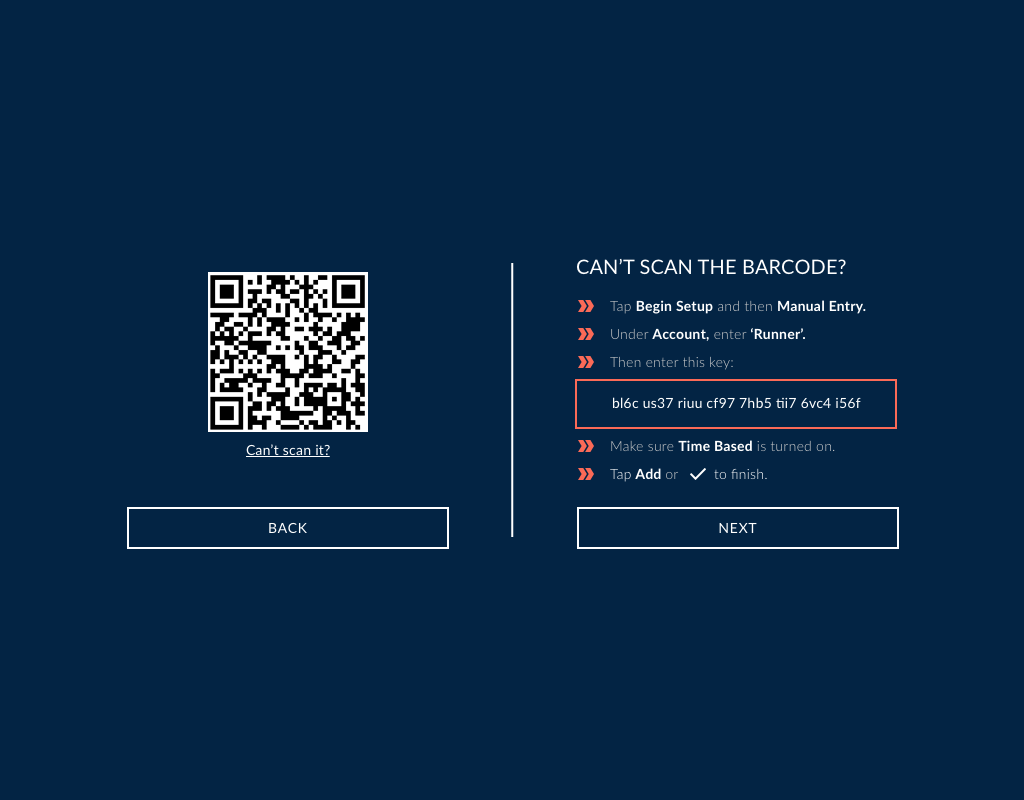
Why can’t I scan the registration QR code?
If you can’t scan the QR code, follow these steps to complete registration:
- On the Google Authenticator app, tap ‘Manual Entry’
- Enter the email address of your Google Account (Or type ‘Runner’ in to the email field to identify this key)
- Enter the key displayed on your computer into the box next to ‘Key‘
- Tap ‘Done’
Why do I keep getting the ‘Invalid Authenticator Token’ flag?
Here are a few reason why this flag could be popping up:
- Incorrect Token
- Double-check that the 6-digit token you’ve entered is the same token displayed on your Google Authenticator app.
- Token timed out
- Because tokens refresh regularly, you could have entered an expired token. (The clock icon will let you know how much time is left before the token expires and a new one is generated.)
- The most recent, generated token will be the one Runner accepts.
- Google Authenticator App de-synced: In some cases, your Google Authenticator app may not be synced. To confirm you have the correct time:
- Navigate to the main menu on the Google Authenticator app
- Tap ‘More Settings’
- Tap ‘Time Correction’ for codes
- Tap ‘Sync Now’
- On the next screen, the app will confirm that the time has been synced. You should now have permission to use your verification codes to sign in. The sync will only affect the internal time of your Google Authenticator app and will not alter your device’s ‘Date & Time’ settings.
Do I have to scan this QR code every time?
No, the QR code is only for registration purposes. Once you’ve set up your account with the initial QR code, you’ll be enabled to log in with your username, password, and the 6-digit token displayed on your app.
I’ve already registered. Why do I see another QR code?
In order to complete the verification process, you must verify the token associated with your account upon scanning the QR code. If this process was left incomplete, the account has not been verified and you will have to repeat the process.